
Y’all. I just winced a little when I saw that my last post was over a week ago. Yikes. I am SO sorry I’ve been MIA this past week – there’s a lot going on that I can’t quite discuss just yet, but just know that I’ve missed you guys!! You probably don’t want to hear my sob story, but alas, here you are. And here I am. And since we both really have nothing else to do… here ya go: I have been so swamped in every single aspect of life – work, church, friendships, life…BREATHING. And to be honest, I haven’t had the time (or energy) to post ANYTHING. All I want to do is sleep. Seriously. Like 14+ hours. And no, I’m not pregnant (I even took a test!), so really, there’s not even a good excuse. And yet… so many excuses. HAHA. Def gonna get back in the swing of things in the next few days, but for now, I appreciate the understanding :)
This past weekend was just what my heart needed though – I came home after a terribly long day Friday to my hubs making me hot cocoa on the stove (!!) and a Christmas movie queued up on the TV. We snuggled and laughed and it did my soul all kinds of good. On Saturday we slept in, saw Hunger Games: Catching Fire (loved it!), ate Thai for lunch, napped & then drank Starbucks & wandered around Barnes and Noble, talking & reading. Sunday was spent with beautiful friends, delicious food & lots of belly laughs. I can’t even tell you how perfect the past 3 days were – I feel like I can breathe again! The madness is still not over (Thanksgiving is in 3 days, people. THREE DAYS!!!), but I am so thankful for glimpses of grace in the midst of the chaos.
Also, in case you were curious, I AM attempting my banana bread again this week – so hopefully there will be a recipe to post soon! And in other exciting news, we’re having a “Friends-Giving” on Wednesday night! We’ve invited most of the people we know who don’t have family in the area to eat and celebrate and laugh together. I love when our house is bursting at the seams with happiness! I’m making the turkey – my first EVER. Soo, if you think about it, go ahead & say a little prayer for me. Or we all might be ordering pizza that night ;) I’ll take some pictures and share the recipe if it’s any good! Along with some super yummy sweet potatoes I’ll be whipping up (super excited about this one!)!
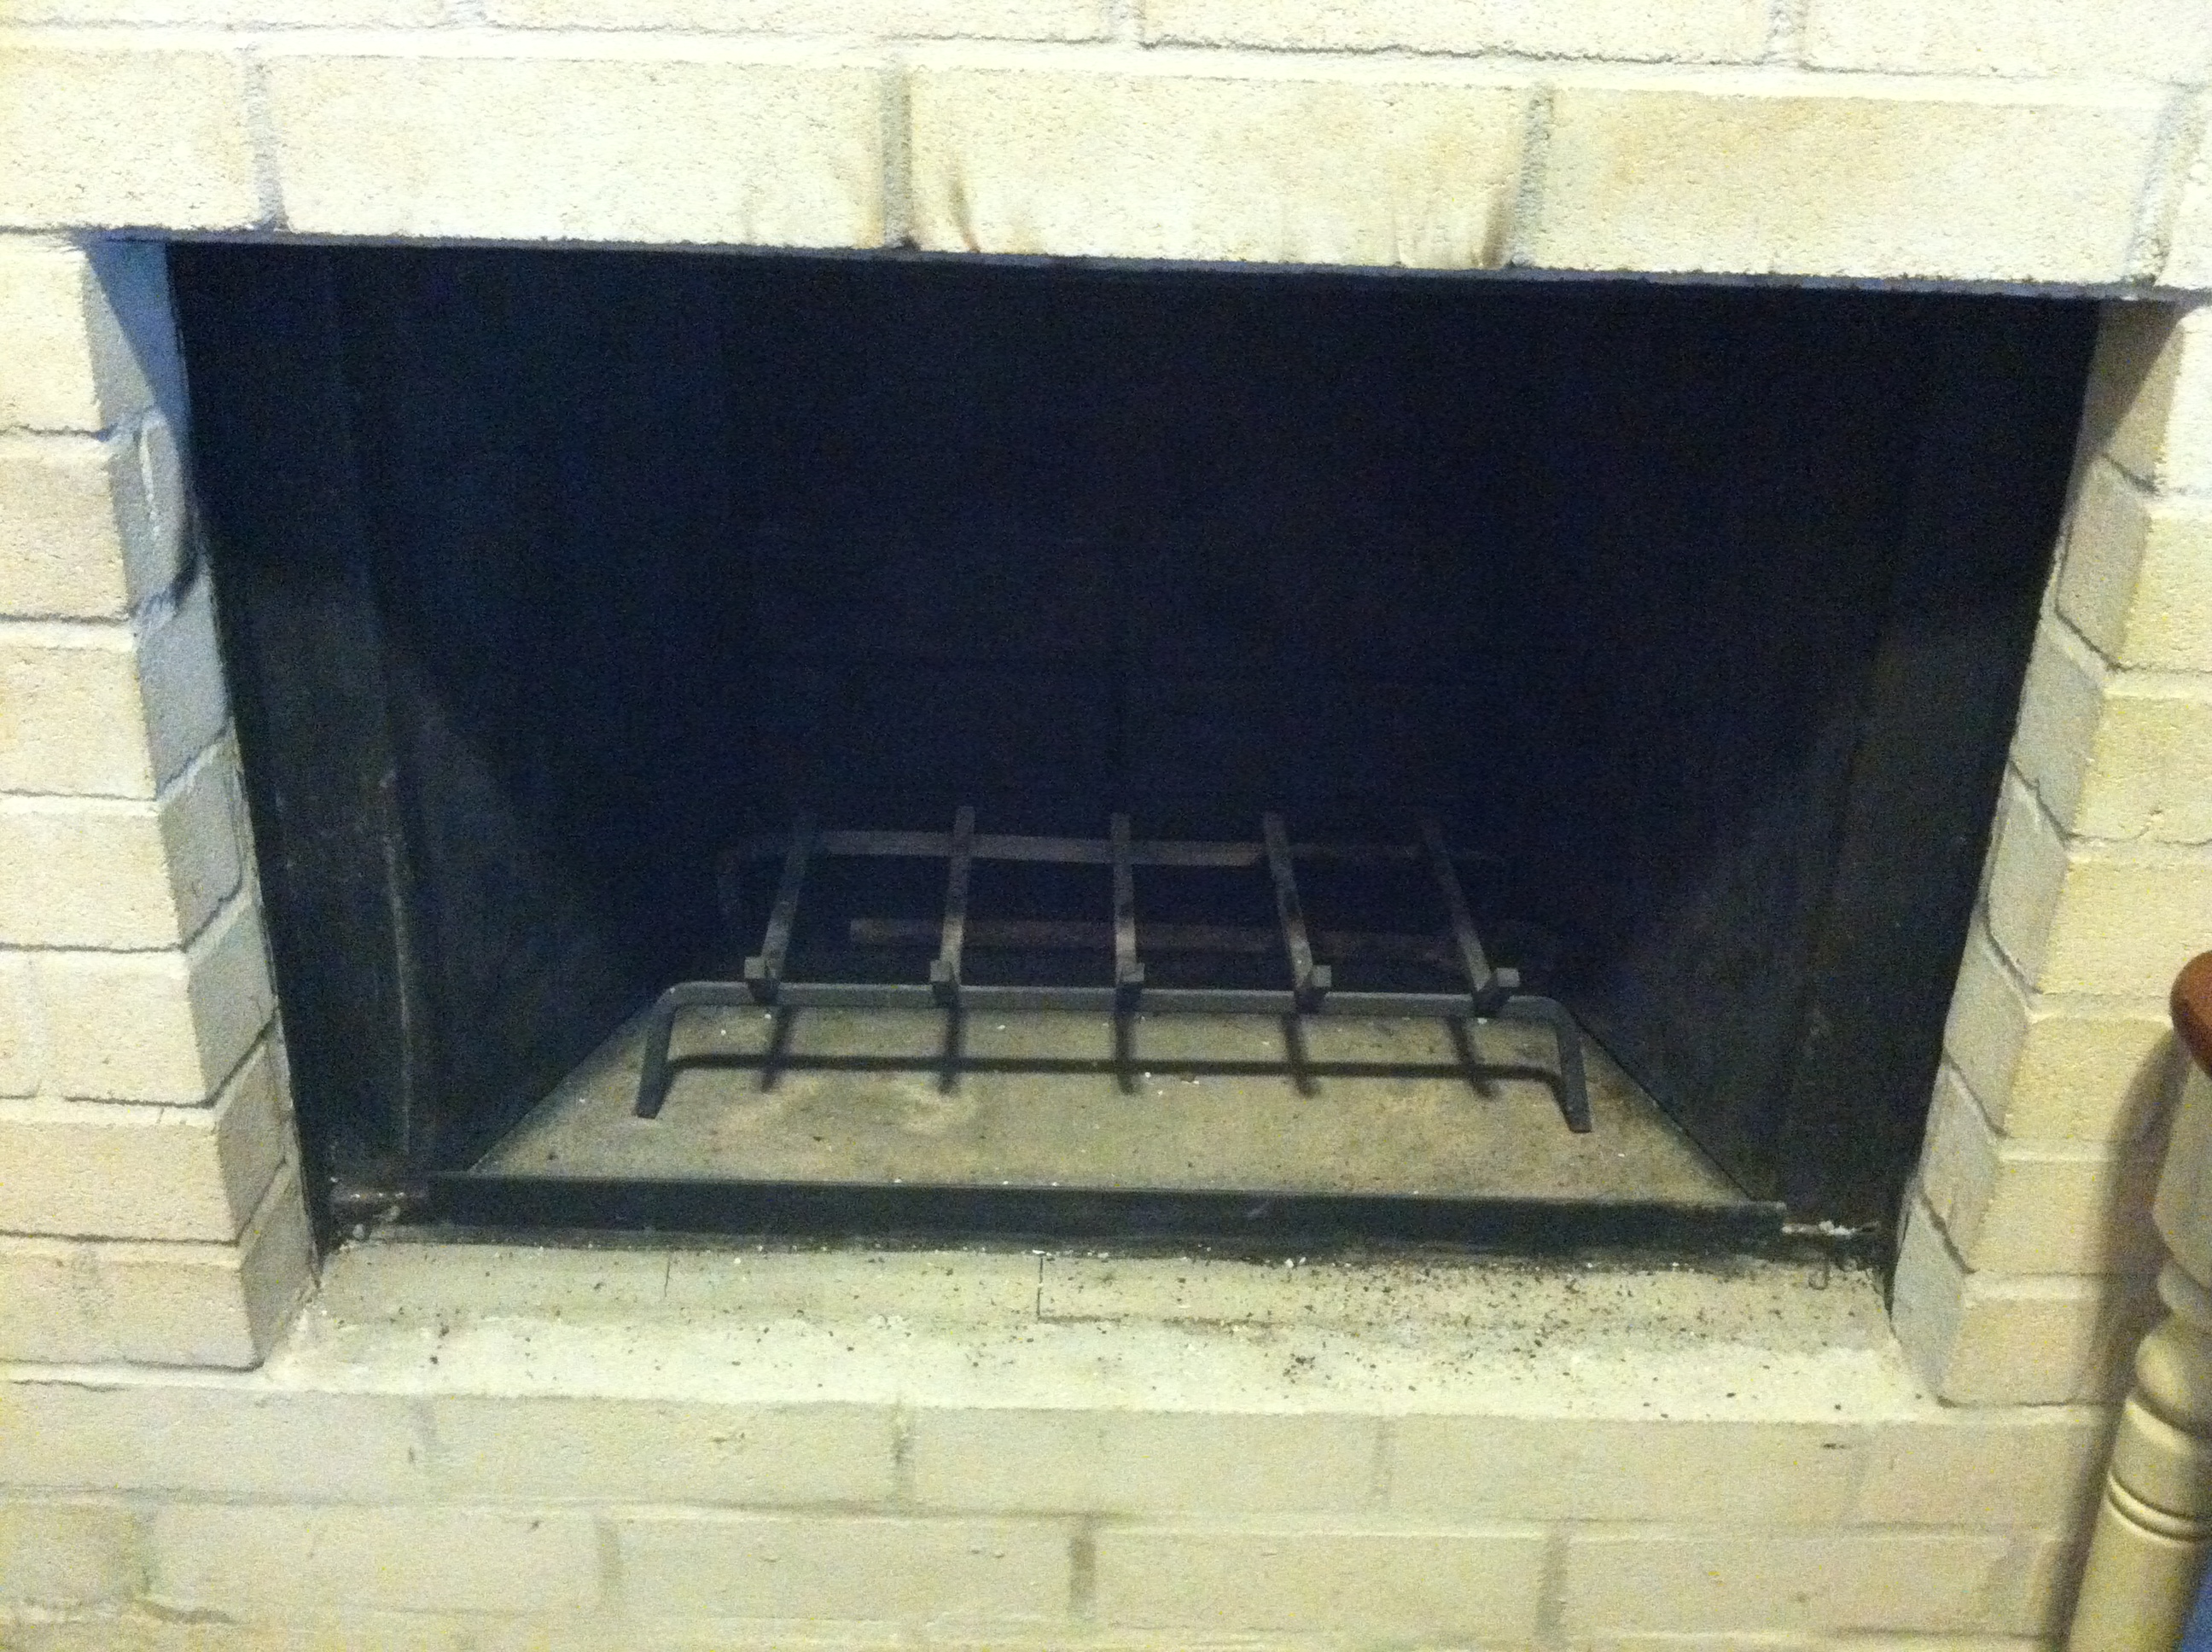
PS: I’ll leave you with a before and after pic of the fireplace that I’ve been promising for a couple of weeks now! What do you think?? Does it need another coat of whitewash? Or should I leave it at just one?!

Terrible pic but you get the idea! So dirty!

A waaaay before shot! But it showcases the 3 random pieces of granite beautifully, I must say…
Another before! Seriously, how did I not take ONE good before picture of just the fireplace!? Fail!
AFTER:

That lump on the couch would be my husband hiding from the camera. Weirdo.

Not quite finished with the Christmas decor, but hey! Gotta start somewhere ;)
At least the granite doesn’t stick out like a sore thumb anymore & the brick is much cleaner/crisper looking! I’ll take what I can get ;) So did anyone else see Hunger Games?! If so, what did you think?? What are YOUR plans for Thanksgiving?! If any of you out there have turkey cooking tips, I’m all ears!! ;)


