Paleo Quiche (with a zucchini crust!)

Monday, Monday… dah dah daaah dah dah (<– Sing that. It sounds better, I promise). Soo I’ve decided to make a change – and yes, I do realize it’s not even New Years yet. But I already have a resolution! That’s just how ahead of the game I am. Or… how behind I am. I mean.. really, REALLY behind. So umm.. let’s just go with the former, shall we? Gah, I am SUCH an overachiever ;)

Ok, where were we? Oh yes, the change! So, I was browsing through Pinterest (find me and join the addiction here) & saw this quote that I fell in LOVE with. It goes a little something like this:

“We waste so many days waiting for the weekend. So many nights wanting morning. Our lust for comfort is the biggest thief of life.” -Joshua Glenn Clark.

Wow. That sucker hit me square between the eyes. I am sooo guilty of this. Of always wanting the NEXT thing. I waste so much time wishing away the days or struggles or hardships that I don’t feel like facing. Instead, I’ve decided to start embracing the struggles. Confronting them head on. Waking up each morning and CHOOSING joy. CHOOSING life. Consciously taking a step forward, saying a kind word, smiling at the unexpected, enjoying TODAY for what it is. And you know what I’m most grateful for, guys? I will absolutely fail at this. Daily, most likely. BUT His grace is sufficient. HIS grace. Not mine. Cue deep sigh of relief. Aaaaand all that to say, here’s to happier Mondays! ;)

Alright, onto the recipe! Y’all. This quiche is so delicious that it will literally change your world. Blow your mind. Knock your socks off. Starting to get the picture? Just want me to stop? Either way.. it’s amazing, folks!

It has no dairy. No grain of any kind. 100% paleo and gluten-free. And it is over the top, slap yo mama, dance in the streets FREAKING delicious. Just ask my husband. Who ate the entire 9×13 pan in 3 days. I mean, seriously?! Uhh I WANTED some of that! Welp, guess that means I’ll just have to make another batch this week. Oh darn ;)

PALEO QUICHE (serves 8-10)

_MG_9067

The ingredients

CRUST:

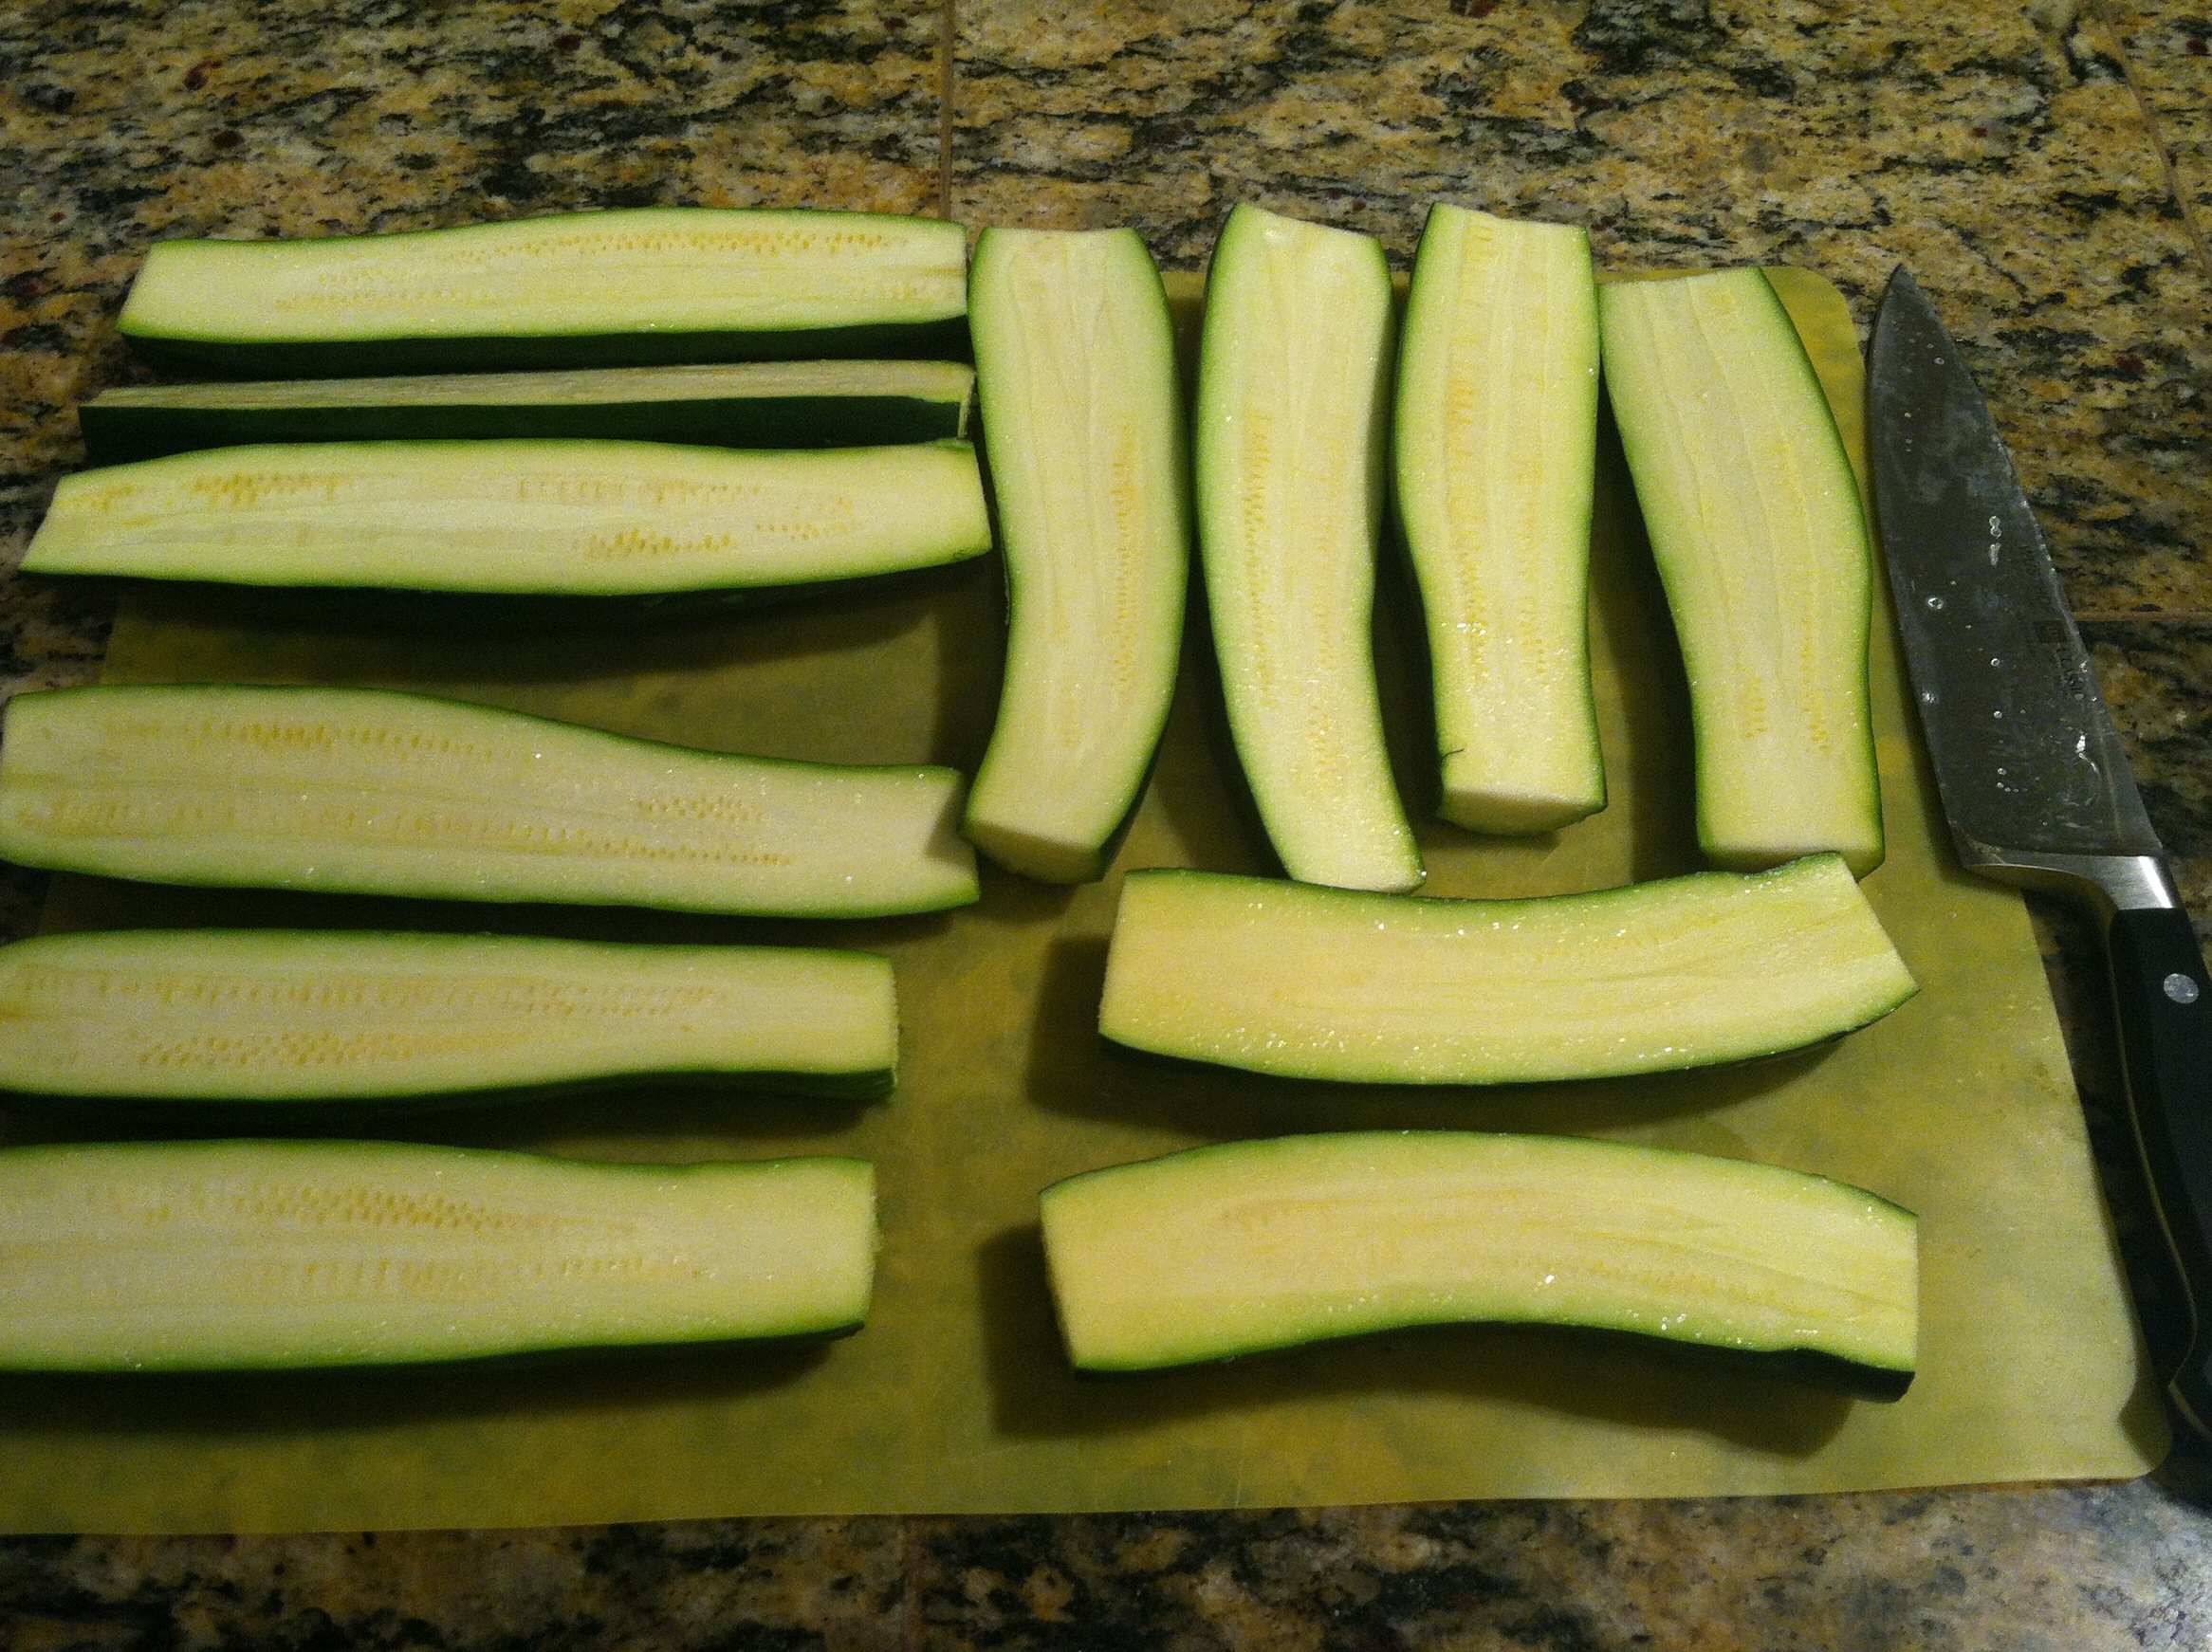
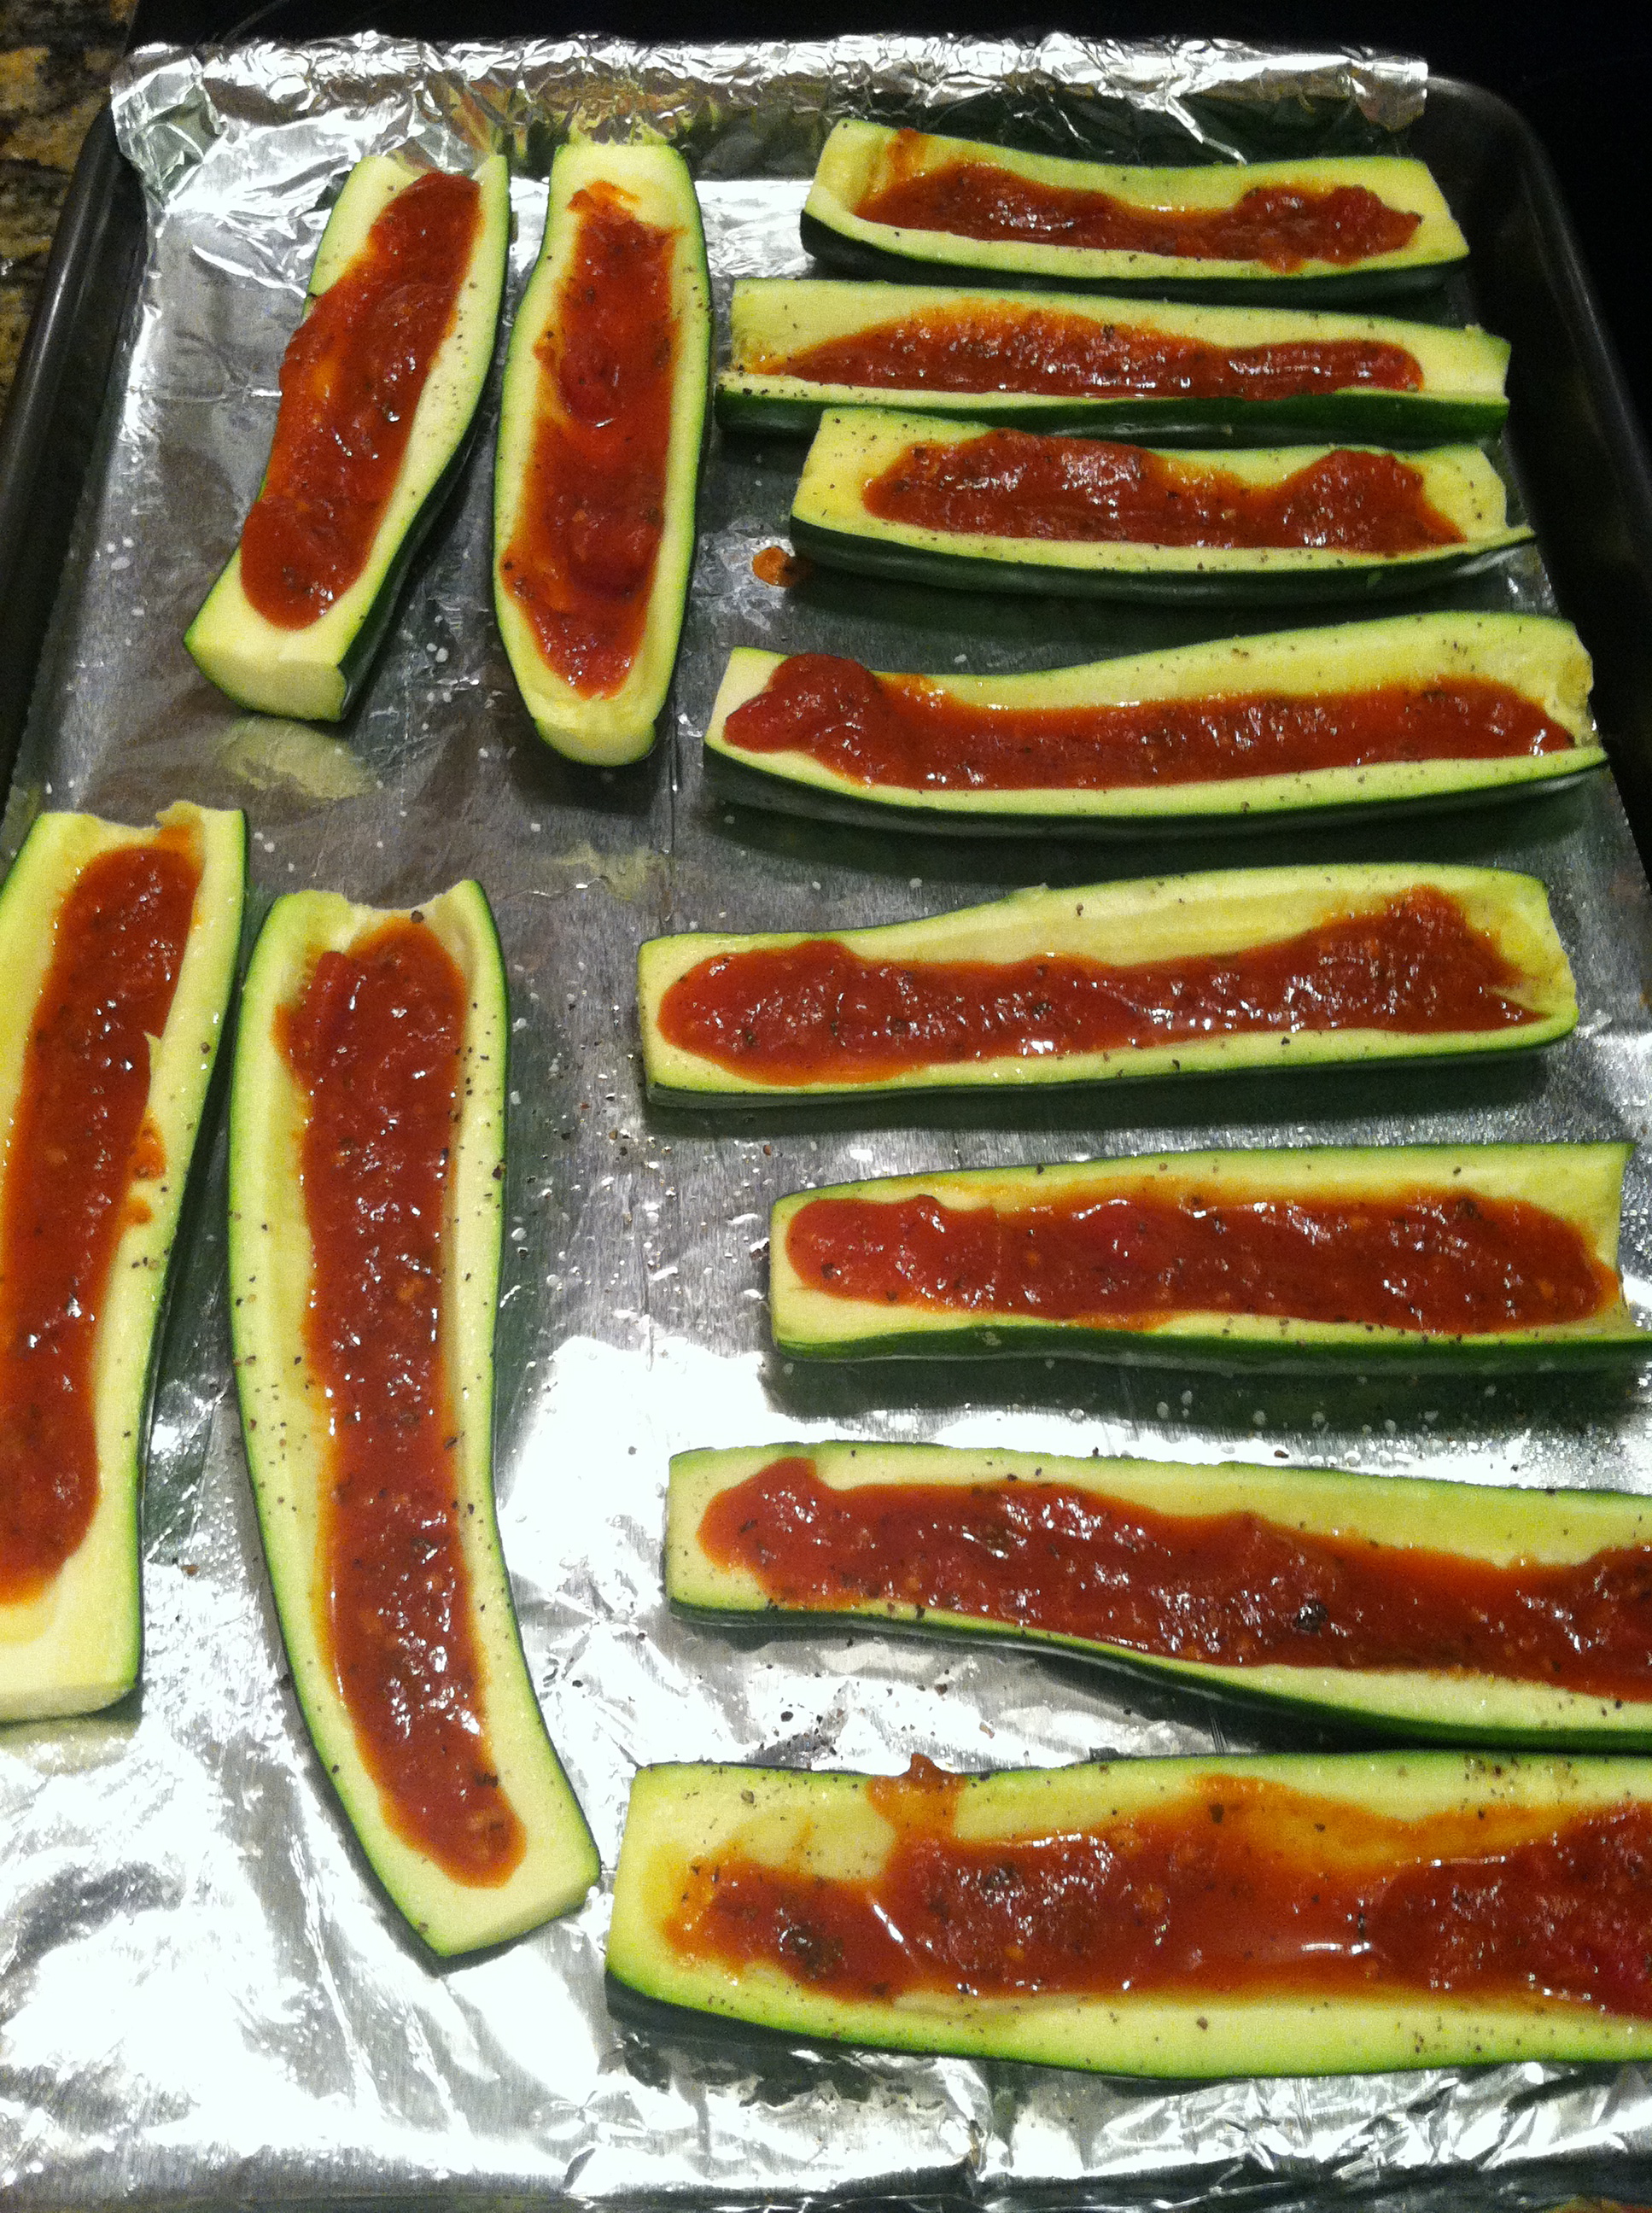
  • 3 cups shredded zucchini (about 4 medium zucchinis)
  • 2 eggs
  • 5 TBSP almond flour
  • 1/8 tsp garlic powder
  • ¼ tsp salt
  • 1/8 tsp ground pepper
  • 1/8 tsp dried rosemary

FILLING:

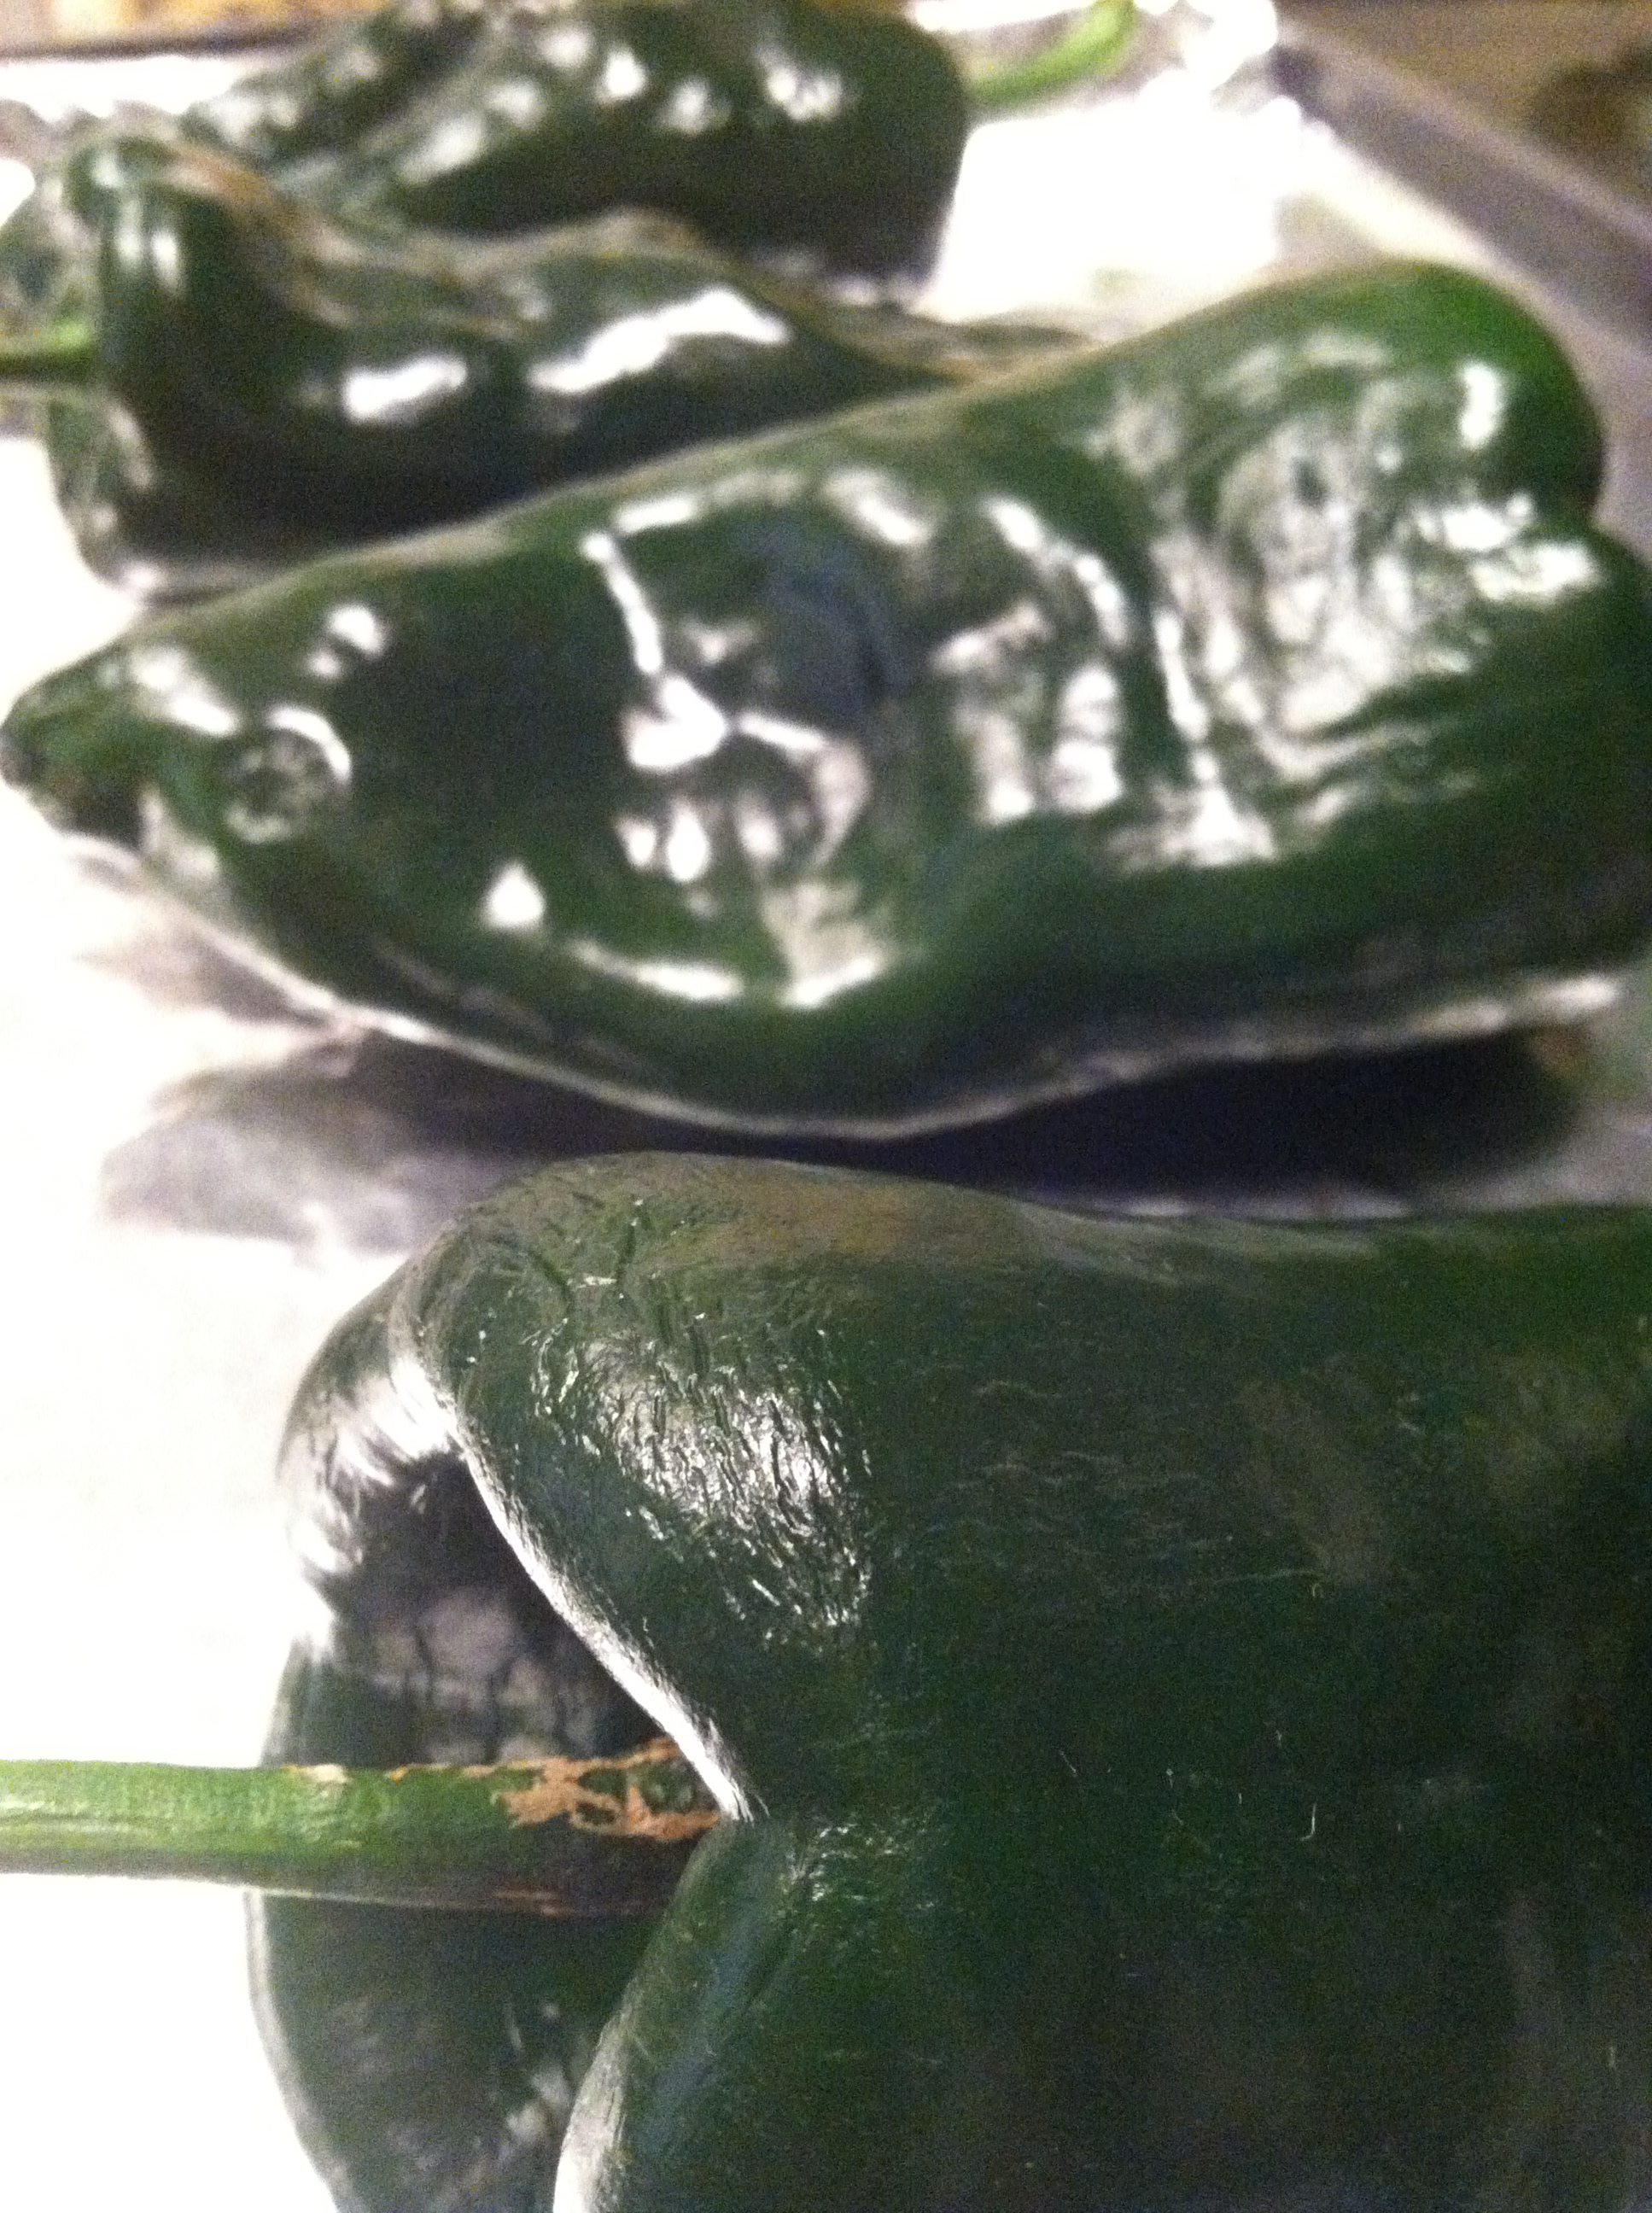
  • 1 medium green bell pepper, chopped
  • 1 pkg zesty Italian turkey sausage (I used Jennio’s)
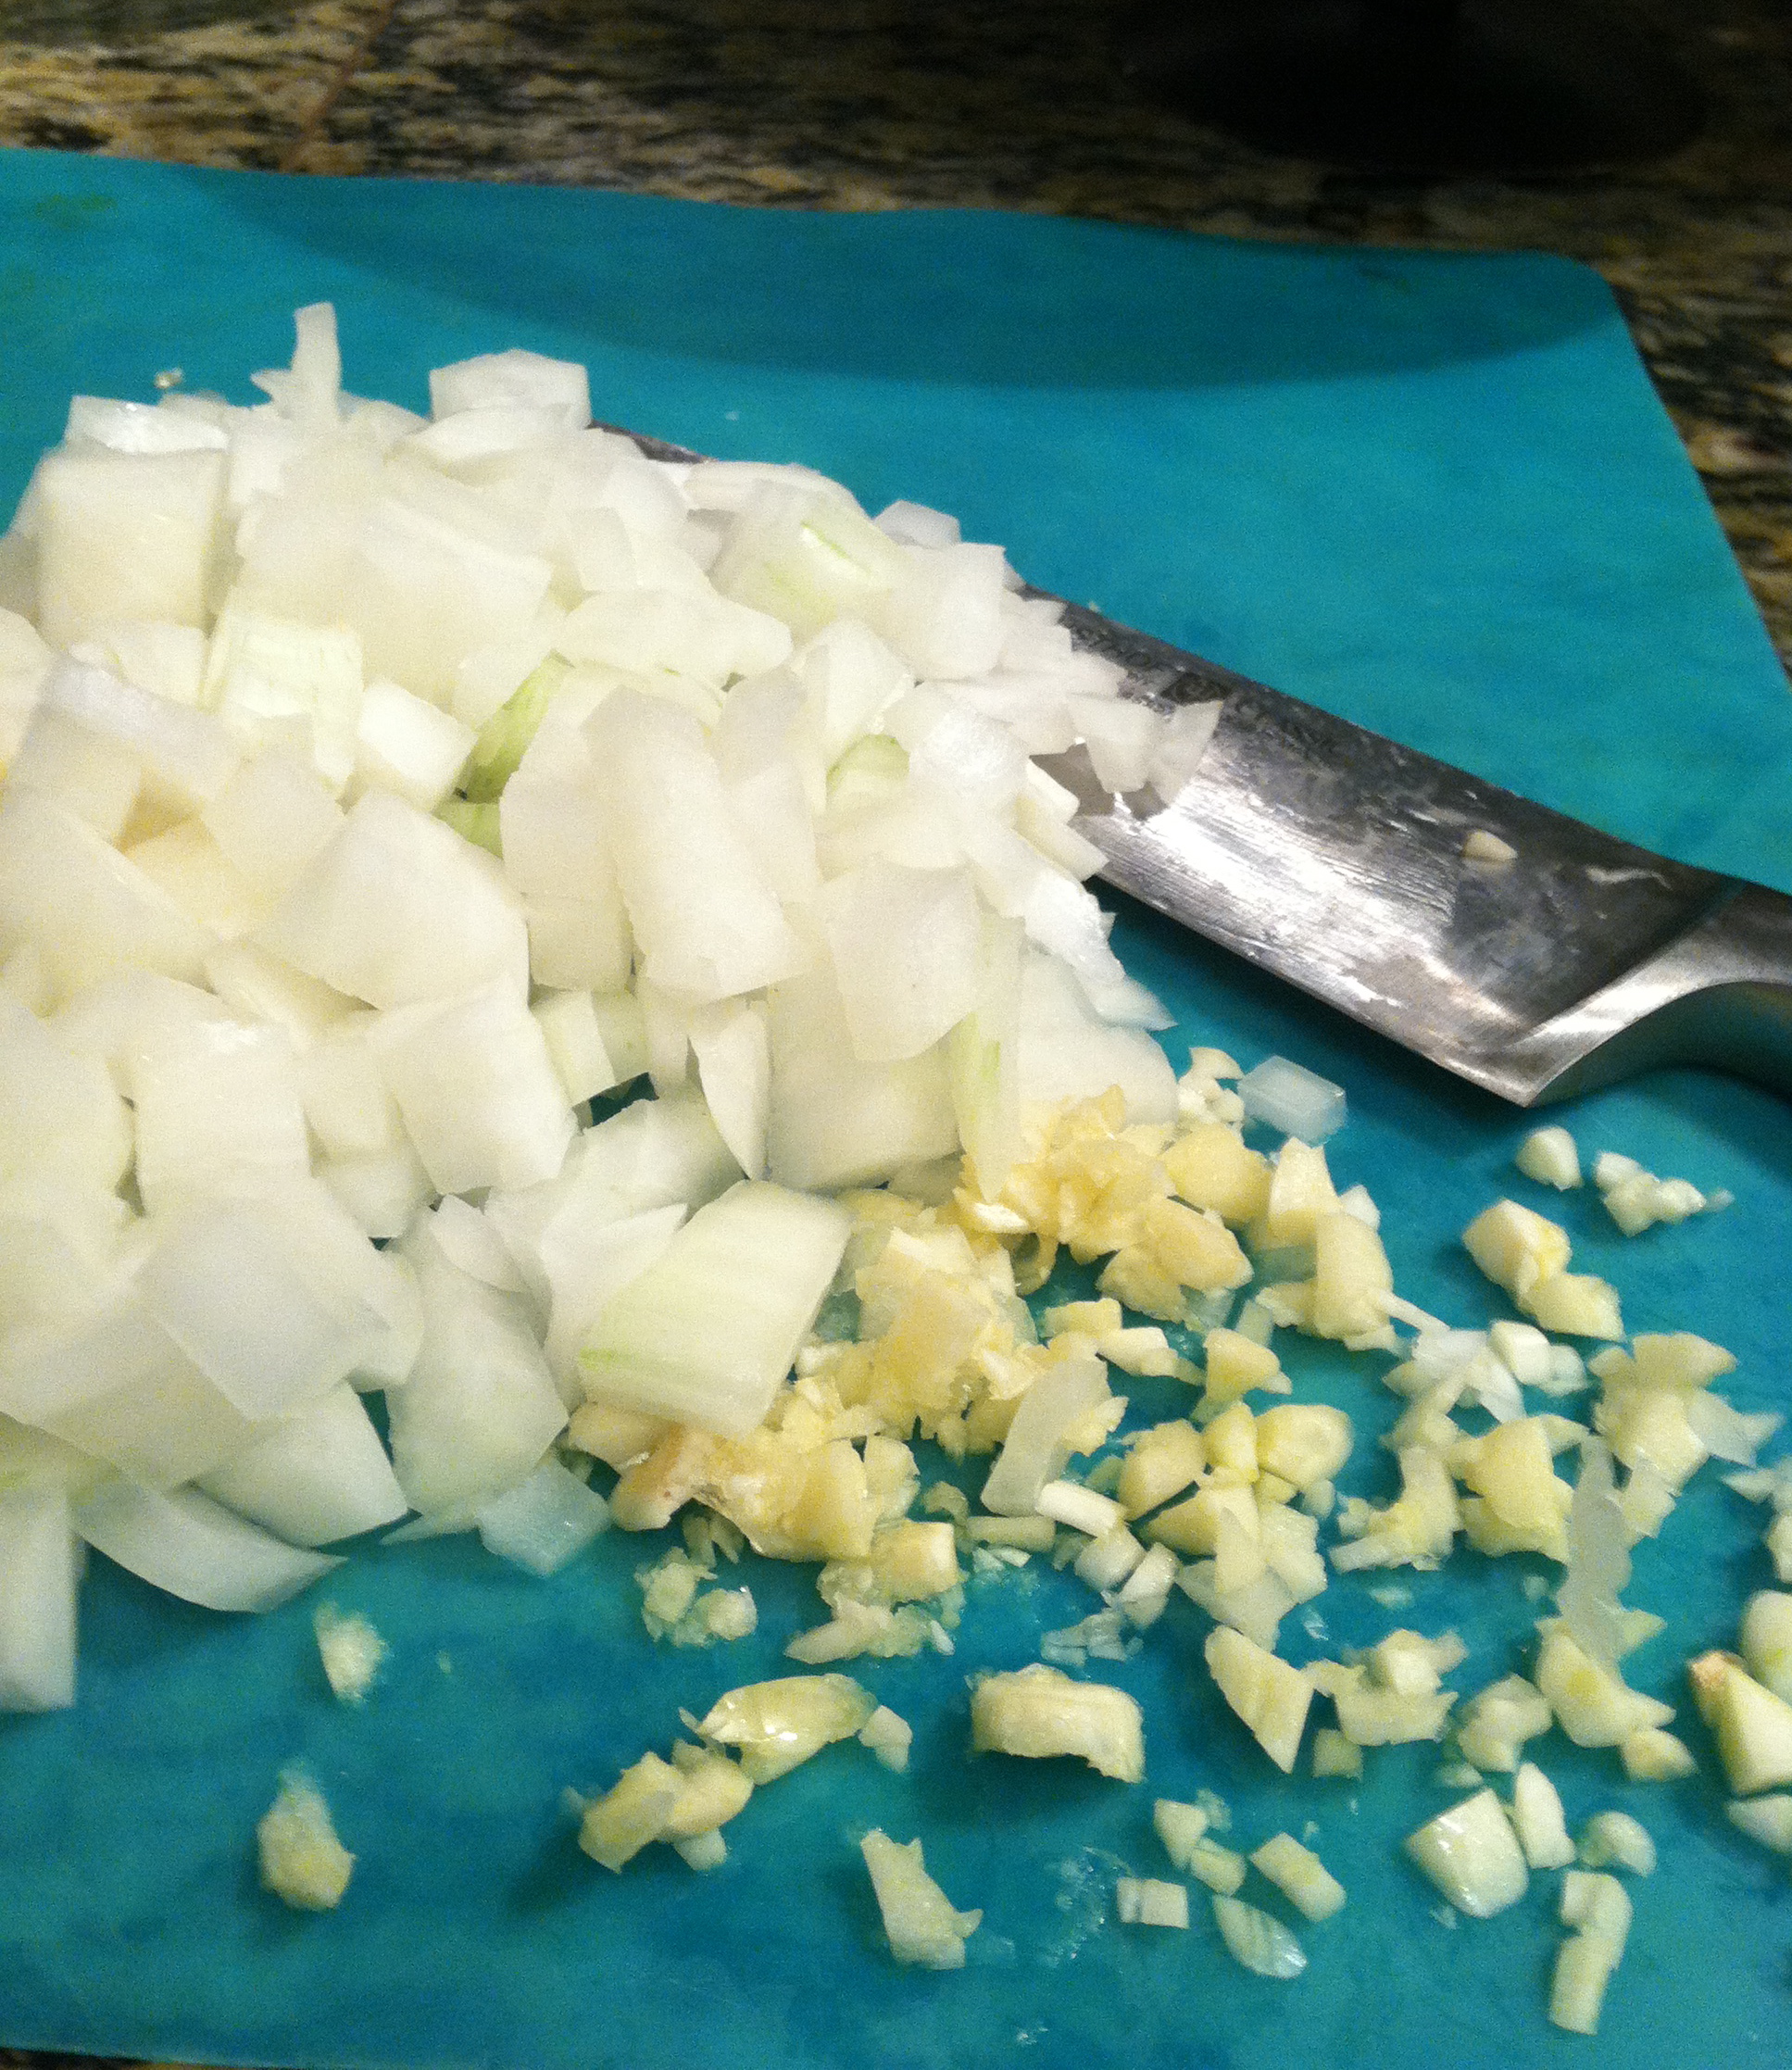
  • ½ cup chopped onion
  • 1 cup broccoli, chopped
  • 1 8oz container mushrooms, sliced
  • 7 eggs
  • ¼ cup coconut milk
  • Dash of salt

Directions for the crust:

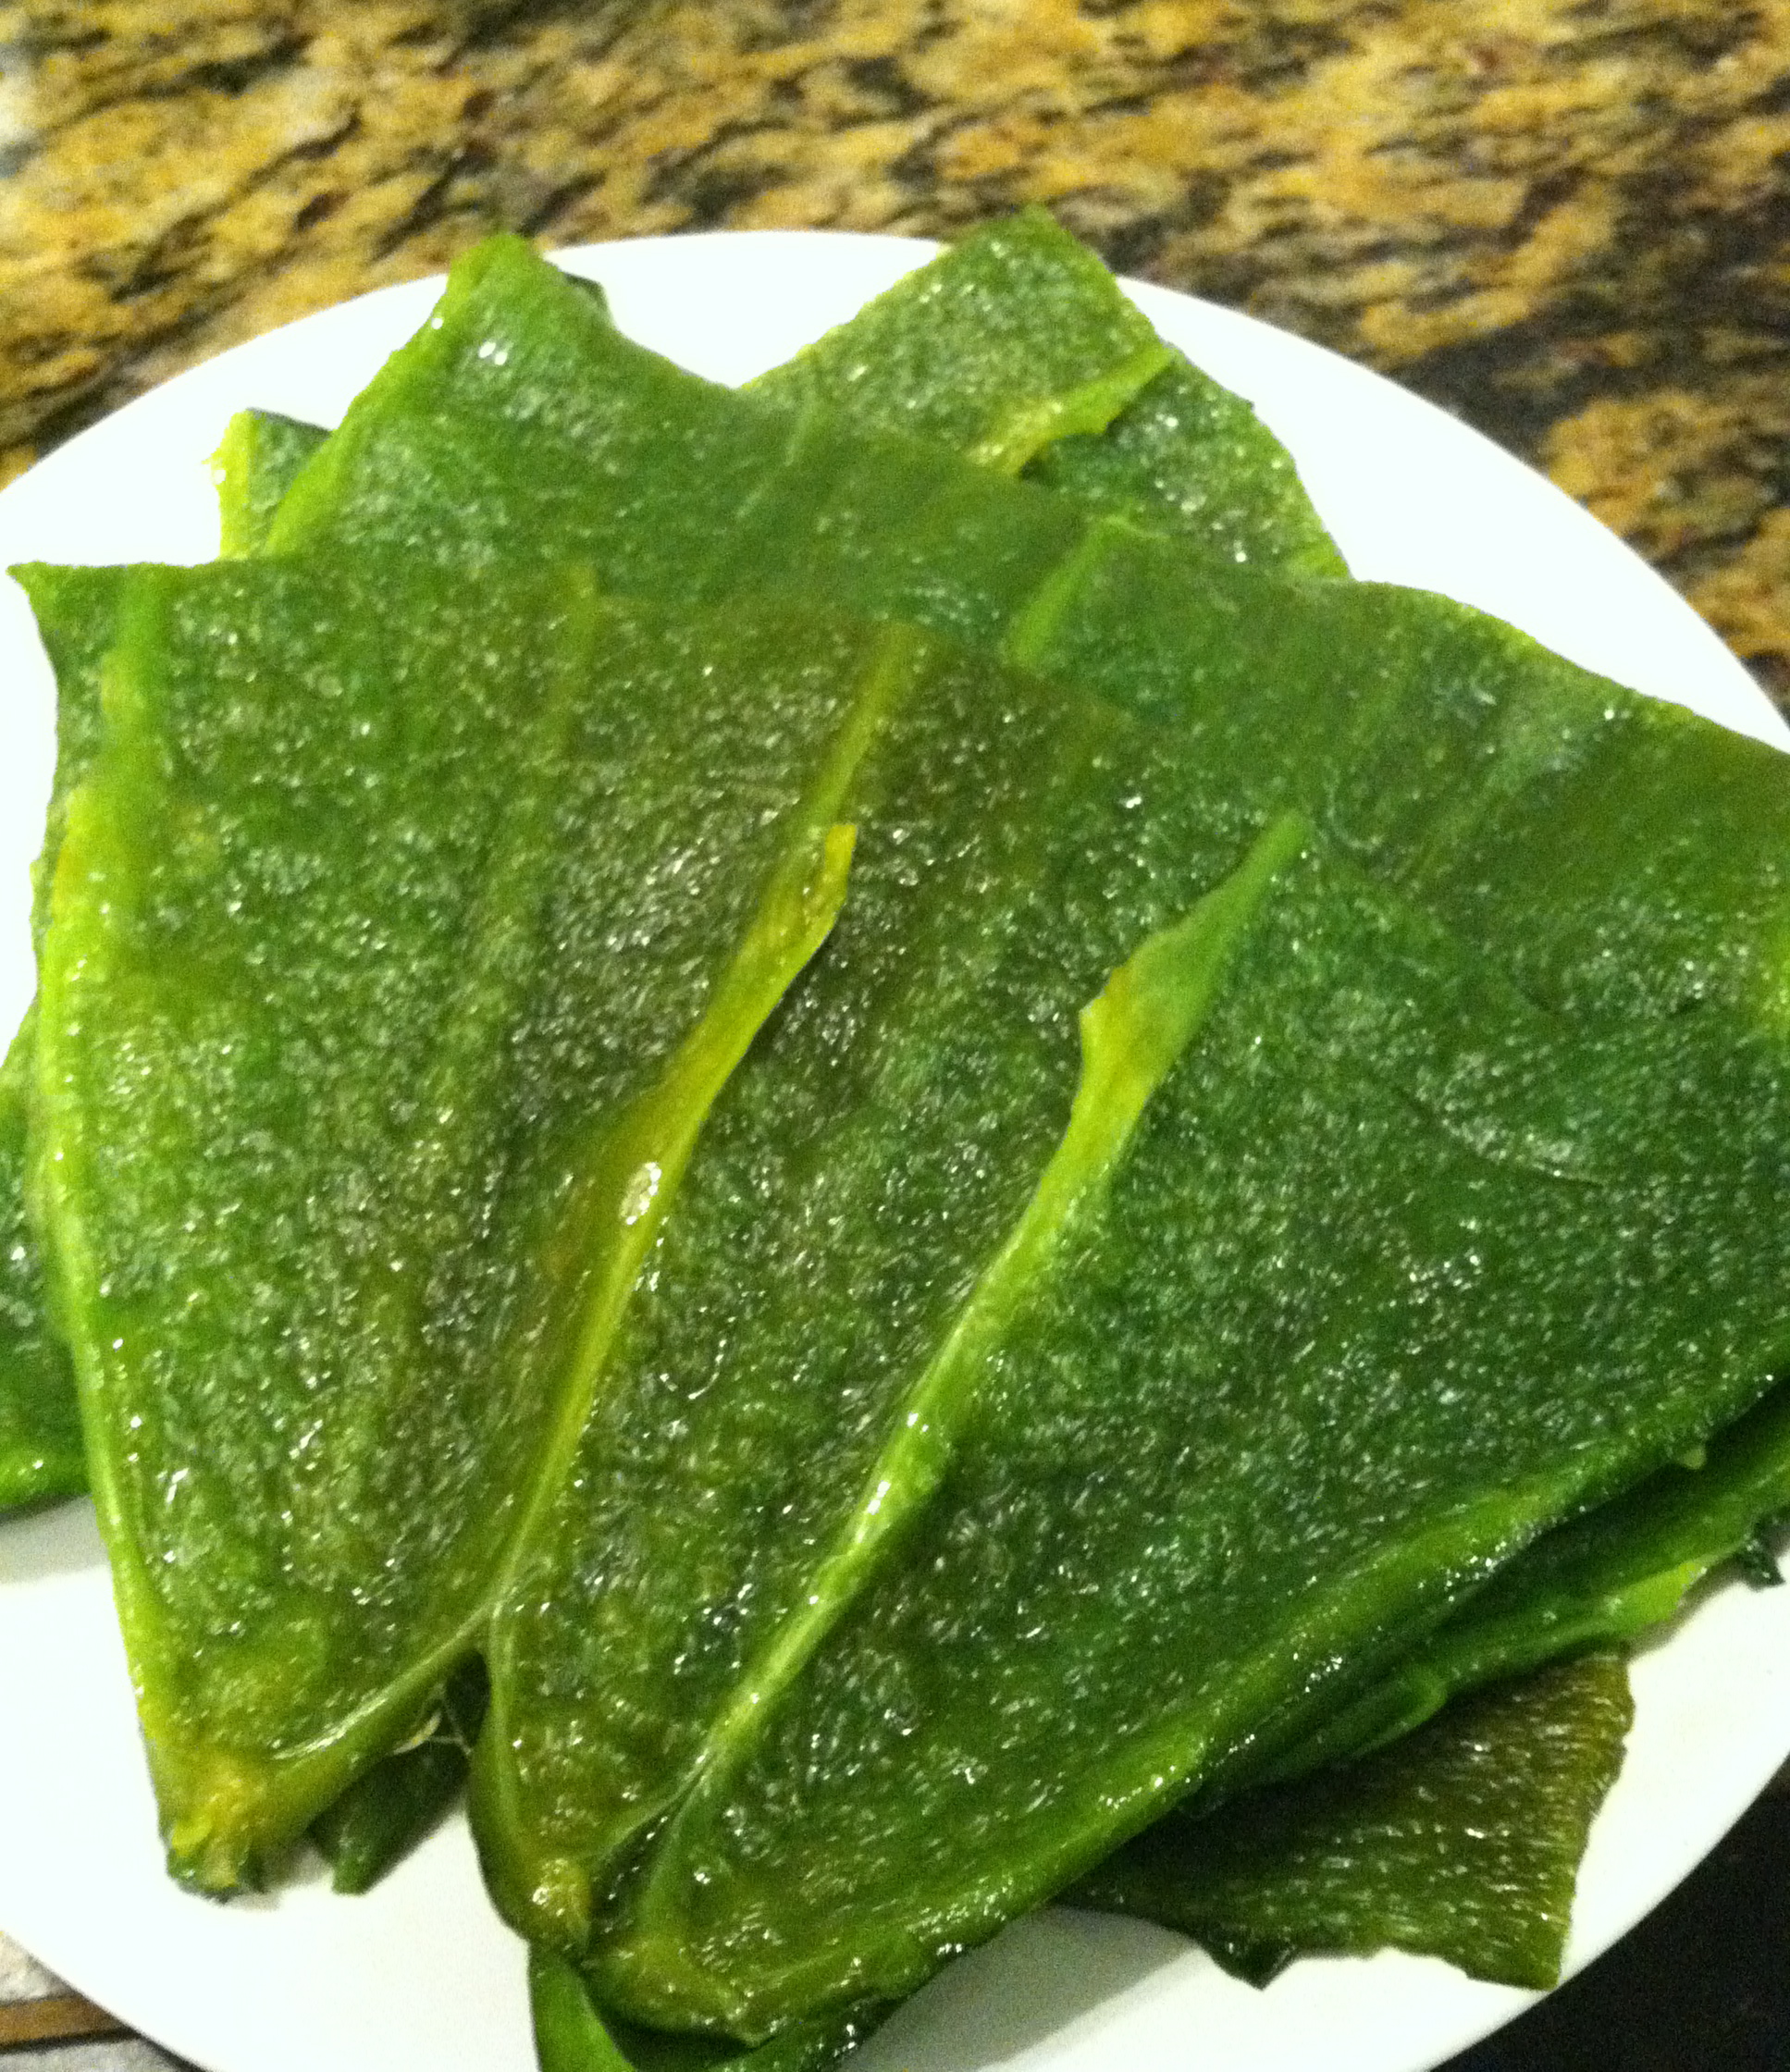
First, spray a 3qt casserole dish with coconut oil or olive oil & preheat your oven to 400. Shred the zucchini & blot with paper towels to remove all excess moisture.

Get out as much moisture as you can! It'll make the texture taste much better.

Get out as much moisture as you can! It’ll make the texture soo much better.

Mix the zucchini with the remaining ingredients (eggs, almond meal and spices).

.

Spread the mixture in the bottom of the pan and up the sides, making sure it’s even, so it cooks proportionately!

.

Bake at 400 for 22 min or until crispy & firm to the touch.

Meanwhile, start cooking the filling. Brown the sausage in a pan with the onion and bell pepper, until the meat is cooked through and veggies are somewhat tender.

_MG_9131

.

Add the mushrooms and broccoli and cook another 3-5 min. Drain the pan and set it aside to cool.

_MG_9142

.

Once it’s cooled, mix with the eggs and milk. Pour mixture into zucchini crust.

_MG_9155

.

Lower the oven temp to 375 and bake for 25 min or until firm. Let cool for 10 minutes and then ENJOY!

_MG_9162

The finished product!

_MG_9189

Yum!!

Like I said, sooooo delicious!! I seriously can’t wait for y’all to try this one – let me know how it turns out for you! You can also find me on Facebook , Pinterest or Instagram (username: @itsbrenae) – I’d love to hear from you! :)

Paleo Creamy Balsamic Dressing

This is one of the BEST dressings I have ever tasted! My husband and I love homemade salad dressing – it’s healthy, delicious & doesn’t have all of those yucky preservatives and other unnecessary ingredients in it.

Here’s the recipe – it has a cashew base, which gives it the creaminess without any kind of dairy!

CREAMY BALSAMIC DRESSING (makes 1 cup of dressing)

The ingredients:

  • 1/2 cup raw, unsalted cashews
  • 1/2 cup water (will come from the water you boil cashews in)
  • 1/2 tsp salt
  • 1 tsp sugar or honey
  • 1/4 cup balsamic vinegar
  • 1 tsp olive oil
  • 3/4 tsp lemon juice

Measure out 1/2 cup of cashews, fill a small/medium saucepan with about 1 cup of water & bring to a boil. Once it’s boiling, remove the pan from heat, cover & let sit for 30 minutes.

IMG_1913

Cashews

Once they’ve soaked for 30 min, drain the cashews, MAKING SURE TO SAVE THE WATER!! Put the cashews in your Vitamix (or other high-powered blender) and measure out 1/2 cup of the water you just drained. Blend on high until creamy and smooth.

I promise it tastes better than it looks here!

I promise it tastes better than it looks here!

Add the remaining ingredients to the Vitamix and blend until well mixed, 10-20 seconds.

Enjoy!

Enjoy!

I can NEVER go back to bottled dressings after this!! So delicious. Let me know what you think – I’d love to hear from you!

Crispy Steak & Edamame Salad

Soo… today’s post was SUPPOSED to be super yummy Paleo Banana Bread! Ya know, the first time it was absolutely perfect, but I made it again last night and there was just something a liiiittle off this time, so bear with me as I make a few tweaks and find out what it is :)

However, I’ll make it up to you – because this salad I’m about to share is soo delicious, you won’t even know what to do with yourself! This is the first recipe I’ve done that is not solely my creation. I’ve had this one in a stack of recipes for years, and to be honest, I have no idea what magazine I even got it out of! So if you recognize it, please tell me so I can give credit where credit is due. I did adapt it and change a few things, which is the version I’ll be posting today!

Disclaimer: Before some of the hardcore peeps get their panties in a bunch, I do realize edamame (and soy sauce) are not “paleo-approved” foods. But like I’ve said before and I’ll say again, I still do cheat sometimes. And I like it ;)  So, you can either remove it from the recipe and sub lettuce or spinach (and coconut aminos) or you can follow me down the path of unrighteousness & indulge a little.

STEAK EDAMAME SALAD

The ingredients!

The ingredients!

  • 2 cups frozen shelled edamame
  • 2 TBSP lower sodium soy sauce
  • 1/2 TBSP minced peeled fresh ginger
  • 1 TBSP mayo
  • 1 TBSP Dijon mustard
  • 2 tsp rice wine vinegar
  • 1 tsp dark sesame oil
  • 1 pint cherry tomatoes, halved
  • 1 medium sized avocado
  • 1 cup chopped seeded English cucumber
  • 4 green onions, chopped
  • 1 TBSP olive oil
  • 10-12 oz flank steak (cut into small pieces)
  • 1/4 tsp kosher salt
  • 1/4 tsp freshly ground black pepper

Pour the frozen edamame into a large bowl and fill it with hot water. Let the edamame soak for about 10 minutes or until completely thawed.

IMG_2229

Little nuggets of deliciousness

Meanwhile, cut up your steak into small pieces and set aside for a minute. I used kitchen shears because it made it soo much easier to control the size of the pieces.

Flank steak

Flank steak

Wash and slice your tomatoes, cucumbers and onions, along with your ginger!

Carefully cut the seeds out of the middle

Carefully cut the seeds out of the middle

Next, drain your edamame and pat dry with a paper towel. Add the veggies you just cut to the bowl with the edamame.

So yum!

So yum!

Next, add the olive oil to either a non-stick, stainless steel or cast iron pan. A cast iron is probably best, but you can work with what you have! Let the oil get hot (it will start looking really runny when it’s ready) and then add the steak, salt and pepper. There will be a little smoke, but don’t worry about it (unless it turns into a roaring fire… then you might want to worry). Add the minced ginger and cook the steak for about 5 minutes or until well browned and crisp.

The searing will create crispy edges!

The searing will create crispy edges!

Closer to being done!

Closer to being done!

Ahh yeah, that's what we're looking for.. so crispy!

Ahh yeah, that’s what we’re looking for.. so crispy!

Combine the soy sauce, mayo, Dijon mustard, rice wine vinegar and sesame oil in a small bowl & whisk until well combined.

So good!

So good!

Next, add the steak and dressing to the bowl with the veggies and stir!

Again, love the bright colors of REAL food!

Again, love the bright colors of REAL food!

Mix until the salad is coated with the dressing, top with some avocado and ENJOY!

The finished product!

The finished product!

The hubs & I each ate about 2 bowls of this – it was so, so good! I know summer has come to an end (depending on where you live), but this was so crisp, so refreshing, it would even be perfect at a BBQ or a picnic. Happy sigh. I love food. Let me know what you think!

Cauliflower Leek Soup

Yesterday was a LONG day. We ended up ordering take out after work (General Tso’s for him and Thai Chicken Curry for me!) and snuggling on the couch watching Macgyver until it was time for bed. It was just one of those days! Thankful for a good night’s sleep and a hot cup of coffee right now. It’s a beautiful day where I am – crisp, breezy and the sun is juuust starting to peek through the morning clouds. Choosing to focus on the blessings each day has to offer – God is just too good!

Now, onto the recipe! All I can say is: YUM! I kinda played around in the kitchen with this one – adding a little of this and a little of that, until I got the flavors right. Lucky for you, I actually remembered to write down all of the changes I made this time! So yay for that! Y’all, this soup is delicious. I have to admit, my husband was a little skeptical at first (“Cauliflower soup? Like an entire thing of soup made from just cauliflower??”), but even he had seconds! It’s perfect for the cold weather that’s coming (and already has come for some of you!) – warm, creamy, filling. Sigh. There is nothing like a hot bowl of soup on a chilly evening! Am I right? Or am I right?

CAULIFLOWER LEEK(serves 4)

The ingredients!

The ingredients!

  • 1 head cauliflower
  • 3 leeks (they have a mild onion-y flavor)
  • 1 can organic chicken broth
  • 1 medium-sized shallot (another onion)
  • 4 cloves garlic
  • 1 cup raw, unsalted cashews
  • 1 tsp dried rosemary
  • 1/8 tsp paprika
  • 1/4 tsp dried thyme
  • 1/2 TBSP salt (+ or – depending on your tastes)
  • 1/4 tsp garlic powder
  • 1/8 tsp red pepper flakes
  • BACON (it deserves to be capitalized, don’t you think?)

Alright – I’m about to share something that will change your LIFE! Okay, maybe not your life, but definitely the way you cook Paleo. Ever wonder how the heck you’re supposed to substitute the cream in various recipes? Such as soup, Indian dishes, etc? Well, look no further! And watch real close – cuz it’s like magic.

Fill a medium-sized sauce pan with water and add your cashews. Bring it to a boil, then turn the heat off, cover and let sit for about 30 minutes.

Cashews!

Cashews!

Pour the water from the pan into a bowl or measuring cup and SET ASIDE. DO NOT GET RID OF THE LIQUID! Then, add the cashews and about 1/2-1 cup of the liquid to your Vitamix (or some other high powered blender) and puree until it becomes a creamy sauce (about 30 seconds). TA DA!! You have your cream base. And you can literally use it for anything since cashews are essentially flavorless. You. Are. Welcome.

Amazeballs.

Amazeballs.

See? Creamy goodness.

See? Creamy goodness.

You can leave the cashew cream in the blender since you’ll be adding to it later!

Since you’ll have 30 minutes while the cashews are soaking, preheat your oven to 400 and cut up your cauliflower into pieces like this:

Drizzle with olive oil!

Drizzle with olive oil!

Add the 4 cloves of garlic (in their skin) to the pan and bake at 400 for 25 minutes or until your cauliflower is tender and looks like THIS:

Crispy!

Crispy!

Meanwhile, rinse the leeks (they tend to have a bit of dirt in the folds) then slice ’em up and dice the shallot.

Use the white and light green end!

Use the white and light green end (the bottom half of the leek!)

Cook in a non-stick pan with a little bit of olive oil until tender and set aside.

Love the colors!

Love the colors!

Lay out your bacon (I did 3 strips each because.. well… we love bacon) on a cookie sheet lined with foil and bake at 400 for 15-20 minutes or until your bacon is the desired level of doneness.

Baaaacon

Baaaacon

Glorious, glorious bacon.

Come to mama.

Add the cooked leeks and shallots to the cashew cream (still in the blender) and puree. We pureed in spurts, mainly because we wanted to keep some of the texture (runny soup just doesn’t sound appetizing, ya know?!). Transfer the mixture to a medium-sized pot. Next, add your roasted cauliflower and garlic (remove the outer shell after roasting) to the blender, along with the chicken broth and puree it on high until completely blended.

Almost there!

Almost there!

Once blended, transfer the entire mixture to the pot with the leeks and cashew cream and stir together. Add all of the spices (rosemary, paprika, thyme, salt, garlic powder and red pepper flakes) along with 1/2 cup-1 cup of water. The water will help smooth out the soup – I found it was WAY too thick before the water, but to each his own. I would start out with about 1/2 of a cup and then add more until it’s the texture you’re looking for.

Perfect soup - flavorful, creamy, thick!

Perfect soup – flavorful, creamy, thick!

I crumbled two of the pieces of bacon and stirred them into our bowls (it was like hitting the jackpot every time we got some in a bite!) and then topped it with the 3rd piece of bacon and a tiny sprinkle of rosemary.

YUM!!!

The finished product!

So what are you waiting for!? Go grab the ingredients, make yourself a nice big pot ‘o soup and cuddle up with a cozy blanket and full bowl of goodness- fall is upon us! So why not take advantage of it? :)

Let me know what you think!

“Spaghetti” and Meatballs

Welp, this past weekend was quite a productive one! The hubs and I ran a ton of errands, hit up our home away from home (Lowe’s) for several items and just had a lot of fun laughing together. Oh, and we hung the knife strip!!! I know you’re all dying to see a picture, so here it is!

IMG_2217

Yay!

Isn’t she lovely?! I love how it looks – and I LOVE these knives. They’re Wustoff Classics and they are AMAZING. My now-husband bought them for me as a Christmas present (we’d only been dating for about 5 weeks), but he called it an investment into his future HAHA. Apparently the man REALLY liked my cooking ;) Seriously though, good knives can be a big investment, but they’re totally worth it in my opinion.

On a side note, I decided to white-wash our fireplace on Sunday night! It was a bit of an impulsive decision, but it’s been bugging me for awhile now – the brick is a dingy white/tan color and it was pretty dirty. I even tried cleaning it! No such luck. Is it possible to clean brick? Does anyone know?! Anyways, the previous owners also stuck 3 random pieces of granite in the fireplace between the bricks (I don’t understand either), so it was really an eyesore. Finally, I just couldn’t stand it anymore so my husband came home to me flicking watery paint all around the living room (and I do mean ALL around)… and somehow he still managed to smile and (through gritted teeth) tell me how much he loves me. Whoopsie. I still need to do a second coat sometime this week – it doesn’t look BAD so far, but it sure doesn’t look good yet. I’m keeping my fingers crossed that this doesn’t turn out to be a botched project… cuz there’s no going back! I’ll keep you updated ;)

Okay, spaghetti and meatballs! This recipe is SO easy, y’all. And it is also incredibly delicious!

SPAGHETTI AND MEATBALLS (serves 3-4)

The ingredients!

The ingredients!

  • 1 medium spaghetti squash
  • 1 jar marinara (preferably one with no added sugars, etc)
  • 1 lb ground turkey
  • 2 TBSP red onion, chopped
  • 2 TBSP fresh parsley, chopped and loosely packed
  • 2 basil leaves, chopped
  • 2 TBSP almond meal
  • 2 tsp dijon mustard
  • 1 tsp Worcestershire sauce
  • 2 cloves of garlic, minced
  • 1 egg
  • 1/2 tsp salt & dash pepper

Preheat your oven to 400. Cut your spaghetti squash lengthwise and lay it facedown on a cookie sheet lined with foil. Bake for about 30-35 minutes or until very tender.

You can scoop out the seeds before you cook it or after - I usually do after!

You can scoop out the seeds before you cook it or after – I usually do after!

Next, chop your parsley, red onion and basil and add to a medium sized mixing bowl.

M

Red onion and parsley add so much flavor!

Add in the remaining ingredients to the bowl, except the marinara. I’ve found the easiest way is to mix it with my hands, although it’s also the messiest way. To each his own! Spray a cookie sheet lined with foil with a bit of coconut or olive oil and then mix together and form into balls about 1 inch in diameter.

I was able to make about 20 meatballs from this recipe.

I was able to make about 20 meatballs from this recipe.

Bake the meatballs at 400 for about 12-15 minutes or until cooked through. Next, add 1 TBSP olive oil in a non stick pan and let it get hot (the oil will start to get runny). Add your meat balls to the pan and brown for about 1 minute on each side.

Yum! The crispy edges are my favorite!

Yum! The crispy edges are my favorite!

It’s such a quick process, but it adds so much to the flavor! Paleo meatballs can sometimes be squishy because there are no bread crumbs to really bind them together, so the browning will help add some texture!

Heat your marinara in a small sauce pan on medium heat and add the meatballs. Let simmer for 3-5 minutes or until heated through.

Doesn't this look amazing?!

Doesn’t this look amazing?!

Meanwhile, remove your squash from the oven, let it cool for about 5 minutes (or it’ll burn the beejesus out of your hands), then scrape out the seeds! Using the same spoon, scoop the squash onto 2 plates and top with the sauce and meatballs!

SO GOOD!

SO GOOD!

The finished product!

The finished product!

This was like heaven, y’all. The combination of the meatballs and marinara was so ridiculously good, it really felt like we were eating real spaghetti! Shoot, the meatballs were so flavorful and crispy, I could’ve eaten them by themselves! I even had some for lunch the next day and it was just as good. Definitely a keeper. Let me know what you think!

Chicken Stuffed Poblanos

Y’all… I’m baaack! This past week was a CRAZY one! As some of you know, I was studying my hiney off for my insurance licensing exam & stress levels were at an all-time high (and when I say all-time high, I’m not exaggerating. I cried over a milkshake on Thursday night. Like legit cried. Don’t judge). BUT it paid off… because I PASSED! I am now officially a licensed insurance agent. Can I get a wut-wut?!

The hubs took me out to celebrate & I decided that getting licensed was definitely deserving of a giant plate of nachos & a d-e-l-i-cious pina colada! Boy howdy, did I pay for it later, but it was absolutely worth it! Have I mentioned that I still cheat sometimes? Because I totally do. I know there’s someone out there reading this right now, holding a cheeseburger & breathing a sigh of relief. You are not alone ;)

So anyways, even though blogging was def not happening last week, I’m pretty pumped to get back in the swing of things today. I missed my little virtual world of happiness :) Let’s kick off this comeback the right way – with Chicken Stuffed Poblanos!

CHICKEN STUFFED POBLANOS

The ingredients!

The ingredients!

  • 2 medium boneless, skinless chicken breasts
  • 4 large poblano peppers
  • 1/2  cup chopped onion
  • 3 cloves garlic, minced
  • 2 Roma tomatoes, chopped
  • 1 1/2 cups mushrooms, sliced
  • 1 avocado
  • 1/4 cup cheese (optional)
  • 2 tsp Emeril’s chicken rub
  • Cumin
  • Salt
  • Pepper

Let me tell you a little story – I made these the other night. I didn’t wear gloves. I cut the peppers, peeled them, de-seeded them. Handled them gently. Sweetly, even. I LOVED them. And they betrayed me! About 10 minutes after we ate, my hands started feeling funny. And then they started burning. And then it felt like they were on FIRE. And nothing worked. Nothing!! I googled. I tried butter. I tried vinegar. I tried soap. And then finally, I stuck my hands in a giant tub of sour cream. And aaaahhhhh. Relief. So I sat there. With sour cream hands. For twenty minutes. While my husband laughed. MORAL OF THE STORY: wear gloves when handling poblano peppers!! You’ve been warned ;)

Okay, now, put on some gloves, then wash, dry & lay your poblanos on a cookie sheet lined with foil. Broil on HIGH for 3-4 minutes on EACH side or until the skin starts blistering. Let them cool before you try to peel them!

Pretty peppers

Pretty peppers

Next, spray a non-stick pan with some coconut oil and add your chicken. Cook until no longer pink in the middle and the outside has a nice crispiness to it.

Season with Emeril's Chicken Rub, a dash of ground cumin, and 1/4 tsp salt.

Season with Emeril’s Chicken Rub, a dash of ground cumin, and 1/4 tsp salt.

Chop your onions and garlic, and add to the pan once the chicken is done or nearly done.

IMG_0698

Two of my favorite flavors!

IMG_0700

Now we’re gettin’ somewhere!

Chop the tomatoes and mushrooms and add to the pan for the last 3-4 minutes of cooking. You don’t want the tomatoes to get soggy, so keep them in there just long enough for the mushrooms to become tender. Add 1/4 tsp salt and a dash of pepper to the mixture.

IMG_0714

This filling is AMAZING!

Now, here’s the tricky part. The peppers are pretty fragile at this point, so be GENTLE. Peel the skins off of all the peppers. Cut the tops off and carefully remove all of the seeds. One of the sides might open on the peppers at this point, but that’s okay! As long as at least one side is still intact, it’ll be just fine. And make sure you don’t miss any seeds! Those suckers will set your mouth on FIRE! My husband accidentally got a stray one in his dinner… and… let’s just say… 3 glasses of water later… oops.

IMG_0717

This part requires patience!

See how these are laid open? That’s usually what they end up looking like once you peel and de-seed them. But again, as long as you can still fold them over, it’ll work!

IMG_0720

LOVE the color of poblano peppers!

Turn your oven to 400 and stuff each pepper with about 1/2-3/4 cup of the chicken mixture.

IMG_0725

Yummm

Bake at 400 for 5 minutes. If you so desire, sprinkle some cheese on at that point and bake for another 2 minutes or until melted. Slice some avocado like so:

Who doesn't love avocado??

Who doesn’t love avocado??

And then top your peppers with it!

IMG_0728

They stayed together pretty well!

IMG_0730

The finished product!

These were SO GOOD. Definitely a little more work than some of the other recipes I make, but it was worth it! The flavor of the filling coupled with the slight heat of the peppers & creamy avocado on top… my mouth is watering just thinking about them again! I even had a few leftover for lunch the next day, which is always a treat. I hope you like them! Let me know what you think!

Stuffed Flank Steak with Smashed Lemon Potatoes

You know those meals you dream up that you’re ridiculously excited to make because you just know it’s going to be delicious? Yeah, this was one of those for me. I could hardly wait to start cooking!

Now, before you hardcore Paleo-ites string me up by my toes in the town square, I do realize potatoes are one of those controversial items in the Paleo world. Some say eat them in moderation, every once in a while.. some say never, ever, ever – I was craving potatoes with this, so I went with it. To each his own!

STUFFED FLANK STEAK AND SMASHED POTATOES

The ingredients!

The ingredients!

  • 1.5-2 lbs flank steak
  • 1 1/2 cups chopped fresh spinach
  • 1/2 cup feta cheese (optional)
  • 1 8oz container mushrooms, sliced
  • 1/2 cup onion, chopped
  • 2 roasted red peppers (I used the jarred kind)
  • 3 garlic cloves, minced
  • 1 egg
  • 2 TBSP almond meal
  • 1 tsp garlic powder, divided
  • Salt
  • Pepper
  • Olive oil
  • Cooking twine

POTATOES:

  • 6 small red potatoes
  • Juice of 1 lemon
  • Olive oil
  • 3 leaves fresh basil
  • 1 tsp dried rosemary
  • Salt
  • Pepper

First, preheat your oven to 425 and line a cookie sheet with foil. Set aside. Slice your mushrooms and chop your onion & garlic. Saute in a tsp or 2 of olive oil until JUST tender.

IMG_1425

Be careful to not overcook the mushrooms, since you’ll be baking them inside of the steak for another 40 min!

Coarsely chop your spinach & red pepper into smaller pieces and add to a medium sized mixing bowl.

IMG_1426

I tossed in a few chopped fresh basil leaves too, but that’s an optional step!

Add the cooked mushroom mix, feta cheese, egg & almond meal to the bowl. Sprinkle with 1 tsp salt & gently mix together.

IMG_1428

You could use this filling for almost anything! Perfect blend of flavors!

Next, carefully slide your knife lengthwise through the flank steak. Go slowly to make sure you’re cutting it into 2 separate pieces.

IMG_1464

I found it easiest to hold the steak tight with one hand and slowly move the knife through with the other.

It should look like this when you’re done:

IMG_1463

Because I got a 2 lb flank steak, I ended up cutting it all the way through into 2 separate pieces.

Place 1/2 of the filling mixture on top of each piece of flank steak and spread it out. Carefully roll each piece up and secure with at least 4 lengths of cooking twine (it can be found at any grocery store).

IMG_1462

Try to keep as much of the filling inside as possible!

Drizzle olive oil over the top and sprinkle each with 1/2 tsp garlic powder, salt and pepper.

IMG_1461

The twine will help hold everything together while it cooks!

Roast in the oven for 40 minutes or until desired color. The bigger of the 2 rolls was still a little pink when it came out, which, of course, my husband loved. So the cooking time will really just depend on your preference!

While the steak is cooking, boil your potatoes in a pot of water until very tender.

You can add a little bit of salt to help the water boil faster!

You can add a little bit of salt to help the water boil faster!

Line another cookie sheet with foil and drizzle olive oil over the potatoes

IMG_1577

We purposely made extra potatoes for leftovers the next day

Using a fork or some other kind of spatula etc, smash the potatoes until they look like this. It usually took just one good smash.

IMG_1578

Who doesn’t love potatoes?? ;)

Drizzle more olive oil on top of the potatoes and sprinkle with salt, pepper, rosemary & basil. Bake at 375 for 12-14 minutes or until they start to get crispy edges. Squeeze the lemon juice over the potatoes once you pull them out of the oven.

IMG_1579

The smell was unbelievable at this point!! Soo yummy

Remove the pieces of twine from around the steak and using a sharp or serrated knife, slice into 1in slices.

IMG_1580

The finished product!

IMG_1460

Mmmm….

My husband took one bite of this and said, “Is your name Babe Ruth, cuz you just hit a hooooooome run… AND you’re a babe.” Uhh, have I mentioned lately how much I love that man? You really, truly do. not. even. know!

Okay, sappiness overload done, back to the recipe! Seriously though – this was the PERFECT blend of flavors. The combination of the filling was so full of flavor, but not overwhelming – it went so well with the potatoes! I can’t wait for y’all to try this one – you have let me know how it turns out for ya!

Paleo Chicken Parmesan

Soo.. I usually try to post a recipe on Monday to kick the week off, but this past weekend was so busy, I slept in yesterday. And while I’m sorry, I’m also not sorry, cuz, let’s be honest, it was reaaaal nice ;) Some friends of ours had decided that a trip to Schlitterbahn (the local water park) was long overdue, so we spent all day Saturday splashing in the water, forcing each other to ride the scariest slides & getting burnt no matter how much sunscreen we slathered on. It was glorious. And exhausting. Still trying to catch up on sleep & energy… seriously, how old am I?!

Aaanywho. I’m really excited to share this recipe with you! My husband and I LOVE chicken parmesan. When I first switched to Paleo, I never dreamed of delicious food like this; I really did think I’d be eating boiled chicken breasts and broccoli for the rest of my life. But behold! Take heart! There are amazing recipes out there that are healthy AND delicious. This is one of them :)

PALEO CHICKEN PARMESAN (serves 2)

The ingredients!

The ingredients!

  • 2 boneless, skinless chicken breasts
  • 1 medium spaghetti squash
  • 1 jar pasta sauce (or homemade sauce)
  • 1 cup almond meal
  • 1.5 TBSP italian seasoning
  • 2 tsp salt
  • 2 tsp garlic powder
  • 2 eggs, whisked
  • 2 TBSP grated parmesan cheese (optional)

First, slice your spaghetti squash in half lengthwise (start at the top of the stem!). Spaghetti squash is a little tougher to cut, especially if your knives are older, so don’t give up. And be careful!

I forgot a picture of this step (oops!), but once you cut the squash, scoop out the seeds and lay the 2 sides facedown on a foil-lined cookie sheet & bake at 400 for 35-40 minutes or until very tender.

Next, set up a “dipping station”. Add the Italian seasoning & other spices to the almond meal and mix until combined. Dip your chicken in the egg & then roll in the almond meal to coat. Line another cookie sheet with foil (to place the chicken on) & spray lightly with coconut or olive oil.

I double dipped the chicken in the egg & almond meal, in order to make a thicker crust!

I did the dipping process twice, in order to make a thicker crust!

Sorry it's a little dark, but this is what the chicken will look like!

Sorry it’s a little dark, but this is what the chicken will look like!

Bake at 375 for 35 minutes or until no longer pink on the inside. If you don’t have a double oven, you can bake it with the squash at 400 for 25-30 minutes.

I put about a TBSP of the parmesan cheese on top & put it in the oven for another 2 minutes, or until the cheese was melted.

Uhh just drooling a little bit over here... don't mind me...

Uhh just drooling a little bit over here… don’t mind me…

Take the spaghetti squash and (once it’s cooled some), use a spoon to scrape out the “noodles”. You will most likely have extra squash!

So good!

So good!

Put a few spoonfuls on each plate & lightly pat with a paper towel to remove any excess water.

Pour on your sauce & add the chicken! I usually use Emeril’s Roasted Gaahlic sauce when I don’t have time to make my own. It’s got incredible flavor! Now enjoy!

The finished product!

The finished product!

This dinner was so good. Seriously. You would never know that the crust was made with almond meal and not breadcrumbs. That fact is still blowing my mind a little. It was so fun to take a crowd favorite like chicken parm, alter a few things and still be able to enjoy some good ol’ fashioned comfort food!

What are some of your favorite meals you’d like to see be “paleo-ized”? Do you miss any specific foods?

Let me know what you think!

Chicken Zucchini Boats

I’m about to share of my favorite go-to meals with you! There are so many ways you could make this, the possibilities are literally endless! Sometimes, when I’m in a real hurry (that’s code for: I-procrastinated-on-too-many-things-and-then-couldn’t-make-it-to-the-grocery-store [stop judging]), I use a rotisserie chicken! Voila! A perfectly Paleo meal in less than 20 minutes. What more could you want?

CHICKEN ZUCCHINI BOATS (recipe serves 2- I made a huge batch in these pictures!)

The ingredients!

The ingredients!

  • 3 medium/large zucchinis
  • 2 boneless, skinless chicken breasts
  • 1 jar spaghetti sauce (homemade works as well!)
  • 2 cloves garlic
  • 1/8 tsp dried basil
  • 1/8 tsp dried oregano
  • Salt & pepper to taste
  • Sharp cheddar cheese (optional)

Directions:

Preheat your oven to 400 and line a cookie sheet with foil. Slice the ends of the zucchini off and then cut it lengthwise down the center.

Try to make the sides as even as possible!

Try to make the sides as even as possible!

Next, take a small spoon and gently scrape out the inner part of the zucchini. It’ll be soft and full of seeds.

The zucchini itself will guide you, in a sense - you will be able to see what is easy to scrape and what is not.

The zucchini itself will guide you, in a sense – you’ll find out pretty quickly what is easy to scrape and what is not.

You’ll be left with a bunch of empty shells of zucchini. Sprinkle a bit of salt and pepper over them and bake for about 12-14 minutes or until tender.

Ready to be filled!!

Almost ready to be filled!

While the zucchini are baking, spray a non-stick skillet with a bit of coconut or olive oil. Chop up the cloves of garlic. Place with your chicken breasts in the pan and sprinkle the basil, oregano, salt & pepper on top.

You can also cut it up beforehand, if that's easier for you!

You can also cut the chicken up beforehand, if that’s easier for you!

Cook the chicken until it’s no longer pink in the middle. Remove from the pan, let cool for a couple of minutes and then dice into small pieces.

So good!

So good!

Spoon a thin layer of sauce onto the bottom of each zucchini boat.

These are so simple to put together!

These are so simple to put together!

Top with the chicken and garlic mixture and then layer another spoonful of sauce over that. You can also sprinkle on a little bit of shredded cheese at this point, if you so desire!

Almost there!

Almost there!

Bake for another 4-5 minutes or until heated through and cheese is melted. ENJOY!

These beauties are making my mouth water as I type this!

These beauties are making my mouth water as I type this!

Again, the thing I love most about this recipe is how versatile it is! You could do spicy sausage or gound turkey instead of chicken. You could add mushrooms and onions to the mixture. Or even top it with some avocado. There are just so many options! Go crazy! And the best part is, it’s good for you! And the best, best part is, you can make a huge batch and have lunch for the next 3 days. Boo-yah.

Let me know what you think!

Linked up to:

My Uncommon Slice of Suburbia

Nifty Thrifty 

Uncommon Designs

That DIY Party

Cauliflower Pizza with Grilled Chicken, Sundried Tomatoes and Basil Pesto

Alright people. I have searched high and low. I have slaved over my hot oven in 95 degree weather in Houston, Texas. I have wept bitter tears over endless attempts (not really… but it sounds really good, huh?) And alas… I have created the PERFECT cauliflower pizza crust. But hey, don’t just take my word for it! Try it out for yourself… and prepared to be amazed! ;)

CAULIFLOWER PIZZA CRUST

The ingredients!

The ingredients!

  • 1 large head cauliflower
  • 3 large eggs
  • 1/2 cup shredded parmesan cheese (Optional! If you don’t want to use cheese, add an extra egg instead!)
  • 1/2 cup almond flour
  • 1/2 tsp dried oregano
  • 1/2 tsp dried rosemary
  • 1/2 tsp salt

Toppings:

  • 2 boneless, skinless chicken breasts
  • 1/2 TBSP Emeril’s Chicken Rub seasoning
  • 1/2 TBSP olive oil (or coconut oil)
  • 1/4 cup Feta cheese (optional)
  • 1/2 cup sundried tomatoes

PESTO (recipe from Fed & Fit)

  • 1 bulb garlic
  • 1 cup packed fresh basil leaves
  • Juice of 1 lemon
  • 1/2 tsp salt
  • 1/4 cup olive oil
  • 1/4 cup pinenuts, toasted

Directions:

Because it takes the most time, the first thing you’ll want to do is get the garlic in the oven for the pesto. Preheat your oven to 375 and then peel all of the outer layers off until you’re left with just the bulb. Cut the tops off of the cloves, as this will greatly assist in the roasting process!

Make sure to get the ones on the sides too!

Make sure to get the ones on the sides too!

Next, wrap the bulb in foil, so it stands upright. This will ensure that all of the juices stay inside the cloves. Roast for about 30-45 minutes or until super tender and then set aside.

You can use a muffin tin to help if yours won't sit by itself

You can use a muffin tin to help if yours won’t sit by itself

Next, cut the florets off of your cauliflower- you won’t really need the stem, so throw that bad boy out! Using a food processor, Vitamix or something similar, pulse the cauliflower until you have “crumbs”.

It should look something like this!

It should look something like this!

In order to have everything done at nearly the same time, I would suggest starting your chicken at this point. Cut or slice 2 chicken breasts into small pieces and cook over medium high heat in 1/2 tbsp olive or coconut oil. Add Emeril’s Chicken Rub seasoning and a sprinkle of salt & pepper.

I cooked it a little longer because I like the slightly burnt bits on my pizza!

I cooked it a little longer because I like the slightly burnt bits on my pizza!

While the chicken cooks, microwave your cauliflower “crumbs” for about 4 minutes. You want them to be slightly tender but not mushy. Transfer the “crumbs” to a tea towel or something similar, and squeeze out as much of the excess water as you can.

Get ready to squeeze!

Get ready to squeeze!

You miiight consider allowing the cauliflower to cool for a few minutes on the towel before you wring it, otherwise you will burn the bejeeszus out of your hands! But cooking is all about sacrifice, right?!

I usually get at least 1/2 cup of water out!

I usually get at least 1/2 cup of water out!

Place the squeezed cauliflower crumbs into a medium/large mixing bowl and add the eggs, cheese, almond flour & seasonings. Mix together.

It doesn't feel anything like dough, so don't freak out!

It doesn’t feel or look anything like dough, so don’t freak out!

I did individual pizzas, simply because I feel that they crisp up better when they’re smaller. A little more pizza-y. A little less crumbly. But it’s your call! Line a cookie sheet with parchment paper. Form the “dough” into circles and press down on the paper. You don’t want them super flat, just enough to cook through evenly.

Getting closer to the prize!

Getting closer to the prize!

By now your garlic should be done. Turn the oven to 400 & bake the pizzas for about 12 minutes, or until golden and crispy.

They should look a little something like this

They should look a little something like this

While the pizzas are baking, toast your pine nuts to finish the pesto. Place the nuts in a small frying pan and turn to medium/low heat. Stir constantly (as they burn easily), until the nuts start getting brown and toasty. It usually takes about 3-4 minutes.

They smell pretty yummy too!

They smell pretty yummy too!

Add the basil leaves, half of the olive oil & pine nuts to your food processor. Squeeze the garlic bulb from the bottom into the food processor. The cloves will ooze right out (for lack of a better word). If not, just gently peel off the outer skin and add. Juice the lemon right over the mix. Pulse until smooth.

Add the rest of the olive oil, salt and pepper to your liking and blend again.

Blend until smooth!

Looks a little wonky, but the taste is UNREAL.

I could eat this by itself. Okay, let's be honest and change that to I DID eat this by itself.

I could eat this by itself. Okay, let’s be honest and change that to I DID eat this by itself.

Spread a layer of pesto onto the cooked pizzas and then pile on your toppings. Bake for an addtional 2-3 minutes or until heated through.

Try not to drool too much yet, mmk?

Try not to drool too much yet, mmk?

The finished product!!

The finished product!!

Guys. This pizza might be the best thing I’ve ever eaten. The crust was moist, but not crumbly and even had a pizza-y texture. Some friends of ours came over the night I made these & they’re not even paleo & they loved it!!

This recipe definitely requires more a longer time commitment than some, in which case, if you wanted to shorten the process, you COULD make the pesto ahead of time. It’ll last 2-3 days in your refrigerator, so feel free to save a few steps the night of! :)

Another thing I love about this crust-it’s versatility! You could literally add any toppings/sauce to it and it’ll turn out to be mouth-wateringly good. I have a few other pizza recipes I’m looking forward to trying out in the near future! In the mean time, let me know what you think of this one!

Y’all! So exciting!! Just got FEATURED ON:

Too Much Time On My Hands

Linked up to:

The Shabby Creek Cottage

The Girl Creative

Lamberts Lately

52 Mantels

No Minimalist Here

Flamingo Toes

Too Much Time On My Hands